For a concrete floor, choose based on use and wear. Epoxy is best for high-traffic areas, chemical exposure, and long-lasting durability. Latex or acrylic coatings are easier to apply, quick to cure, and good for light-to-moderate traffic. If you need UV stability and a glossy or satin finish, consider a polyurethane sealant after painting. Regardless of type, prep matters: clean, degrease, repair cracks, prime, and let every coat cure fully. More tips await as you plan your project.
Decide the Right Floor Paint for Your Space
Choosing the right floor paint starts with your space and how you’ll use it. You’ll first map traffic, exposure to moisture, and cleanliness requirements.
For high-traffic garages or shops, pick durable, chemically resistant options and consider non-slip textures.
In living areas, prioritize aesthetics alongside easy maintenance. When you narrow choices, evaluate decorative finishes that align with your design goals and practical needs.
For workshops, basements, or outdoor entryways, ensure UV stability and color retention against sunlight.
Color selection matters: lighter tones reveal dust less visibly in some spaces, while darker shades hide wear better.
Check cure times so you don’t stall project milestones.
Always verify substrate compatibility, odor, and surface preparation requirements to avoid failures.
Decide significance, then test samples before full application.
When to Choose Epoxy, Latex/Acrylic, or Polyurethane
Now that you’ve matched your space and use to the right coating, you’ll decide which binder makes the most sense: epoxy, latex/acrylic, or polyurethane.
Epoxy handles high-traffic areas, chemical exposure, and longevity, delivering strong bond and bulk color options.
Latex/acrylic is easier to apply, dries faster, and stays flexible for basements or garages with slight movement.
Polyurethane adds UV resistance and a satin to high-gloss finish, ideal for rooms with sunlight or glare.
Consider your environment, maintenance plan, and budget: epoxy is best for durability, latex/acrylic for ease, polyurethane for shine and fade resistance.
Think about color options and texture effects you want; choose the binder that aligns with use, foot traffic, and cleanup expectations.
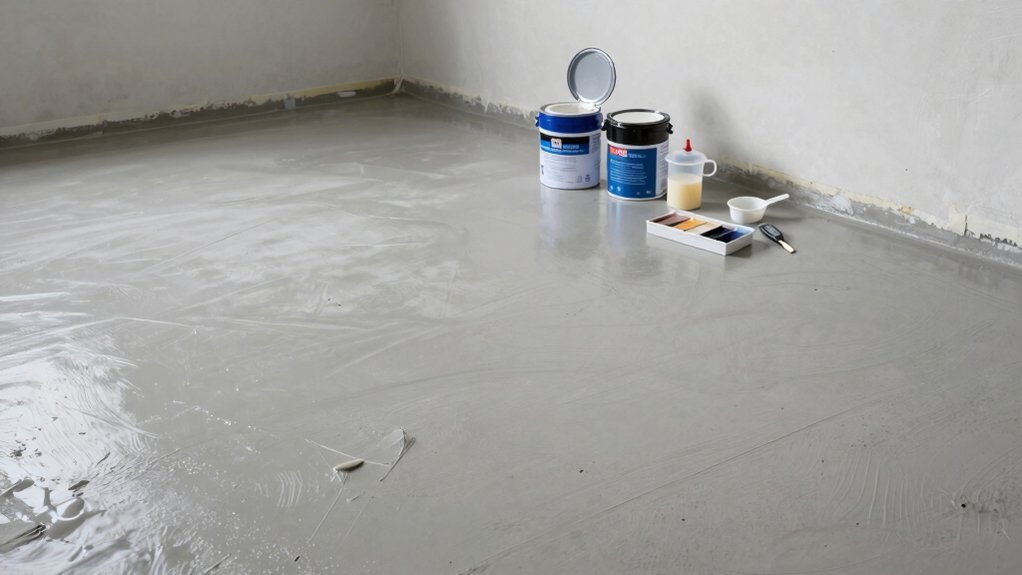
Prep a Concrete Floor for Painting: Cleaning, Repairs, and Priming
You’ll start by cleaning and degreasing the floor to remove oils, dust, and contaminants that can ruin adhesion.
Then address any cracks, chips, or holes with patches that match the surface texture, so repairs don’t telegraph through the finish.
Finally, apply a suitable primer to improve grip and ensure consistent paint coverage across repaired and sound areas.
Cleaning And Degreasing
Cleaning is the essential first step to guarantee paint sticks and lasts. You’ll remove dirt, oils, and gloss so the coating bonds properly and colors look even on garage flooring or decorative coatings projects.
Follow these steps for a clean, ready surface:
- Sweep and rinse to remove loose debris, then scrub with a concrete-safe cleaner.
- Degrease stubborn oil spots with a concrete degreaser; rinse thoroughly and let dry.
- Inspect for sheen; if needed, etch glossy areas per product guidelines to improve adhesion.
Keep ventilation up during cleaning, and wear gloves.
A well-cleaned floor minimizes flake risk and maximizes primer bite, delivering durable results with minimal maintenance.
Repairs And Patching
If you spot cracks, pitted spots, or loose patches after cleaning, address them first to guarantee a solid base for paint. Start repairs with a concrete patch compound or epoxy filler appropriate for high-traffic floors. Damp patches should dry fully before filling; otherwise, cracks may reopen.
Scrape away loose material, then smooth with a trowel, ensuring the patch is level with surrounding concrete. For larger cracks, consider a reinforcing mesh or structural repair kit. Once dry, sand until flush and dust-free.
If you’re aiming for uniform color, choose color matching fillers or tintable repair mortars. After patching, test the surface with a quick water bead to confirm porosity. For decorative finishes, plan repairs to keep a consistent surface texture and appearance.
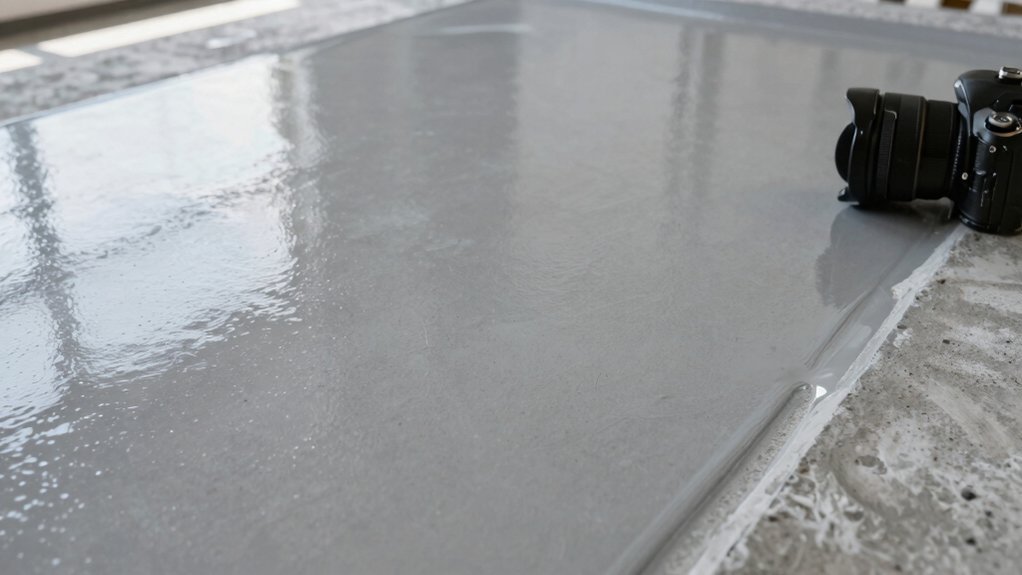
Apply Epoxy Floor Paint: Steps, Ratios, and Tips
Now you’ll apply epoxy floor paint by following clear surface preparation steps, using the right ratios and mix guide, and sticking to proven application and curing tips.
You’ll guarantee the surface is clean and primed, measure and mix precisely, and apply in controlled coats for a durable finish.
Ready to discuss practical steps, precise ratios, and time-safe tips that deliver consistent results.
Surface Preparation Steps
To guarantee a long-lasting epoxy floor, start with thorough surface prep: remove all loose paint, dust, and debris, and repair cracks or pits so the epoxy can bond properly. You’ll create a solid base by cleaning, etching, and inspecting for moisture. Then, couple surface texturing with precise sealant application to ensure adhesion and durability.
- Sweep and vacuum, then rinse with water to reveal a clean, dry surface.
- Debris-free, use a grinder or etcher if needed to expose a profile suitable for adhesion.
- Apply primer or sealant adherent to concrete, seal any cracks, and wipe away excess before it cures.
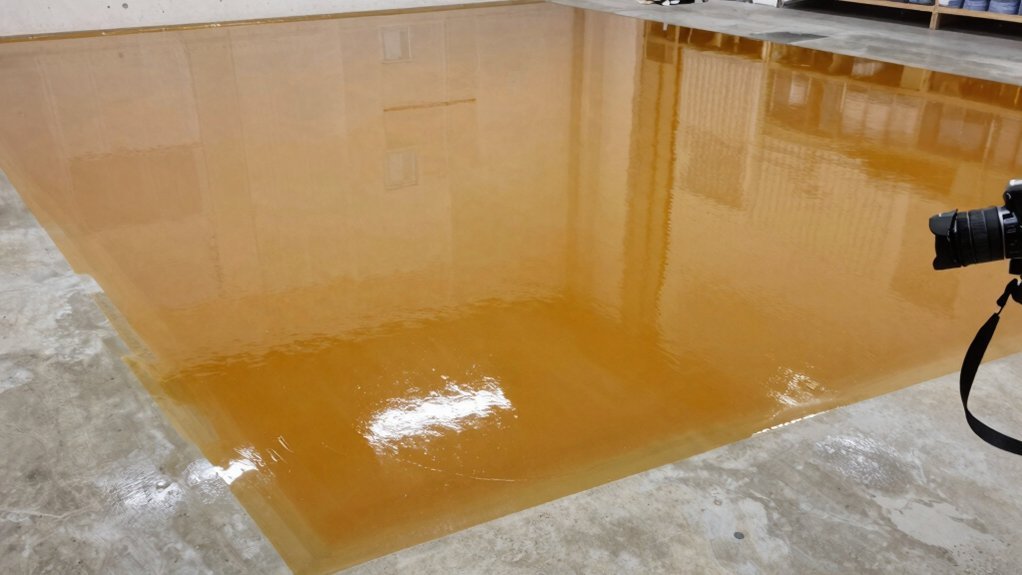
Ratios And Mix Guide
After prepping the surface, the next key step is mixing the epoxy correctly to guarantee durable, even coverage. You’ll follow the manufacturer’s ratio precisely, then let the mix sit for the recommended induction time. Measure components with clean tools to avoid contamination and inconsistent hardening.
Use a mechanical mixer on low speed to prevent air bubbles, and scrape sides regularly to ensure full integration. Maintain a consistent room temperature as specified, since heat or cold can alter curing and color.
For color matching, blend small test batches before committing to the full mix, adjusting tint gradually until you hit the target hue. When storing leftovers, seal containers tightly and label with the mix ratio and date; plan for proper paint storage to prevent premature thinning or separation.
Application And Curing Tips
Once you’ve mixed and rested the epoxy, apply it in controlled, consistent coats using a roller or squeegee. Start near the far wall and work toward the exit to avoid stepping on fresh material. Maintain a steady pace, watch for puddles, and back-roll to even out texture.
Allow appropriate cure times between coats, and keep the area ventilated to reduce fumes. Use color options that hide dust and offer durability, and pick application tools that match your floor geometry for a smooth finish.
- Choose color options and compatible topcoat for long-term wear.
- Use the right application tools to prevent lap marks and runs.
- Schedule curing windows so traffic comes back only after full hardening.
Apply Latex or Acrylic Floor Paint: Steps and Considerations
For latex or acrylic floor paint, start by making sure the surface is clean, dry, and properly prepared to maximize adhesion. Remove dust, oils, and contaminants, repair cracks, and abrade glossy areas.
Prime if required by the product, then let the primer cure fully. Mix the paint thoroughly and maintain consistent temperature and humidity during application.
Use thin, even coats and avoid overworking; back-roll to ensure uniform coverage. Allow each coat to surface-dry before applying the next, following manufacturer recoat times.
For color options, choose a finish that suits foot traffic and cleaning needs, applying multiple coats if needed for solid coverage.
Consider texture techniques, like rolled textures or decorative stencils, to enhance grip and aesthetics without sacrificing durability.
Plan for cure time before light use.
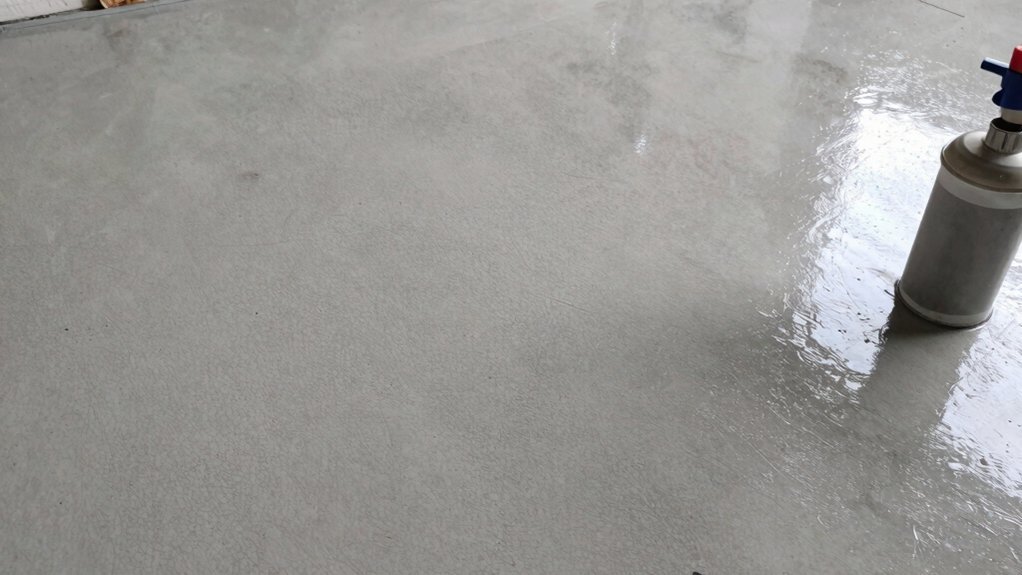
Use Polyurethane Sealers: Purpose, Timing, and Care
Polyurethane sealers protect concrete floors from wear, moisture, and stains while enhancing color and finish. You apply them after painting to lock in color and provide surface protection that lasts. Choose a compatible solvent- or water-based sealer, and follow product directions for coat count and drying times. Plan for ventilation, light foot traffic after curing, and minimal chemical exposure during cure.
1) Surface prep: dust and clean, allow paint to cure fully, and stain or seal in a single clean pass with even coverage.
2) Timing: apply after the last coat cures per manufacturer guidelines; avoid humidity spikes and temperature extremes.
3) Care: sweep regularly, mop with a non-alkaline cleaner, and recoat only when high-traffic wear shows.
Compare Durability and Finish by Paint Type
When you choose paint for concrete floors, the type you pick drives both durability and finish. Epoxy paints deliver the strongest wear resistance and glossy or satin finishes, making them best for high-traffic areas; expect superior paint adhesion and long life, but with a stricter prep process.
Urethane acrylics offer decent durability with good chemical resistance and a softer sheen, suitable for garages and basements where you want color options without the heavy setup.
Latex acrylics provide easy application and rapid drying, yet are more prone to wear under heavy traffic and staining.
For DIY projects, consider hybrid epoxy blends for balanced toughness and easier application.
In all cases, test color options and surface prep to ensure consistent finish and predictable durability.
Common Mistakes to Avoid When Painting Concrete Floors
Proven mistakes to avoid when painting concrete floors start with skipping proper prep. If you skip cleaning, etching, or patching, you’ll trap flaws under the coating and ruin color matching and results. Don’t rush ventilation, or you’ll trap fumes and shorten cure times. Don’t ignore surface porosity, or you’ll get edge peeling and uneven decorative finishes.
Plan for moisture testing and primer compatibility to protect adhesion long term.
- Skipping prep steps and moisture checks, which hurts color matching and finish longevity.
- Ignoring compatibility between primer, topcoat, and decorative finishes, causing peeling or yellowing.
- Rushing coating layers or skipping cure times, leading to bubbles, miscoloring, or premature wear.
Quick Decision Guide: Pick Your Floor Paint
Choosing the right floor paint starts with your goals and environment: consider traffic level, exposure to chemicals or moisture, and how long you need the job to last.
In a quick decision guide, focus on three choices: epoxy, acrylic, and latex. Epoxy delivers durability for high-traffic spaces and chemical exposure, with a glossy, tougher finish.
Acrylic is easier to apply and dries fast, suitable for garages or basements with moderate wear.
Latex is budget-friendly and simple for lightly used areas.
Check prep needs, cure times, and maintenance.
If you’re unsure, start with color options you like and test a small area.
For greener options, seek eco friendly paints that meet low VOC standards.
Your goal is a durable, cleanable surface that matches your schedule and environment.
Frequently Asked Questions
Can I Paint Concrete Floors Outdoors Without Sealing?
Yes, you can, but you shouldn’t skip prep. You must do concrete surface preparation, guarantee the surface is dry, clean, and sound, and consider outdoor weather considerations before painting to avoid peeling and moisture damage.
How Often Should Painted Floors Be Re-Coated?
Coordinated timing proves you should re-coat every 3–5 years, depending on wear. You’ll maximize floor preparation and paint durability, so you know exactly when to refresh and keep your concrete looking sharp and protected.
Do I Need a Primer for Glossy Concrete Surfaces?
Yes, you’ll need a primer for glossy surfaces; primer application improves adhesion. Begin with thorough surface preparation, cleaning and roughening, then apply primer evenly before coating, ensuring it’s dry to finish coat for lasting results.
Are Decals or Logos Durable on Epoxy Floors?
You visualize epoxy decals gripping your floor like bold, glossy labels; logo durability depends on cleanliness and proper application. You’ll guarantee a smooth, clean surface, apply with pressure, then seal—keeping design sharp and long-lasting after days.
Which Fumes Are Hazardous During the Painting Process?
Hazardous fumes include VOC emissions and respiratory hazards; you’ll want proper ventilation, respirators, and PPE. Keep VOC emissions low by choosing low-VOC coatings, work in bursts, seal containers, and monitor air quality to protect yourself.
Conclusion
To choose the right concrete floor paint, align your space, traffic, and exposure with epoxy, latex/acrylic, or polyurethane. Prep well—clean, repair, and prime—then follow the product’s mixing and application steps closely. Epoxy for heavy wear, latex for easier maintenance and color, polyurethane as a sealer for gloss and protection. Avoid hot spots, puddling, and thin coats. In short, pick smart, prep properly, and you’ll hit the mark—you’ll be ahead of the game from the get-go. It’s a win-win.