A typical polyurea coating for a 2-car garage costs roughly $4 to $9 per square foot, depending on thickness, prep, and labor. Expect base prep to run $1–2 per sq ft, primers and topcoat $2–4, plus application labor at about $40–80 per hour per crew. For a standard 400–500 sq ft space, total ranges often land around $2,000 to $5,000, with higher-end setups reaching $6,000 or more. If you want details, you’ll get the specifics and pricing breakdown next.
Do You Really Need Polyurea for a 2-Car Garage?
You don’t necessarily need polyurea for every 2-car garage, but it’s worth evaluating how you use the space and the environment’s demands. You’ll assess load, moisture, and chemicals, then compare coatings to find a durable baseline.
Start with garage ventilation: poor airflow can accelerate humidity spikes and paint wear, affecting any coating’s performance. If you park vehicles with salt, fuel residues, or battery fluids, you’ll want a surface with chemical resistance and easy cleanup.
Paint durability matters, but so does curing time and surface prep. Measure foot traffic, workshop needs, and possible water intrusion.
If you rarely spill solvents or store items that emit fumes, a mid-range epoxy might suffice. For high-traffic or corrosive settings, polyurea’s resilience justifies the cost.
Key Factors That Drive Longevity and Value
When evaluating longevity and value, focus on five measurable factors: coating thickness and wear tolerance, chemical resistance, substrate prep and cure time, maintenance requirements, and warranty terms. You’ll translate these into durable performance and steady value over time, especially with garage organization in mind and climate considerations shaping material behavior.
Thickness dictates abrasion endurance; wear tolerance aligns with use patterns. Chemical resistance safeguards against fuel, oil, and cleaners. Substrate prep and cure time determine adhesion longevity. Maintenance requirements influence lifecycle costs, while warranty terms set post-install protection.
Consider how climate impacts cure, expansion, and seal integrity.
- Visualize extra-thick, resilient coating resisting daily traffic and chemical exposure
- Picture consistent cure across cold winters and humid summers
- See organized spaces reducing impact on edges and corners
- Anticipate warranty-backed performance under variable climate conditions
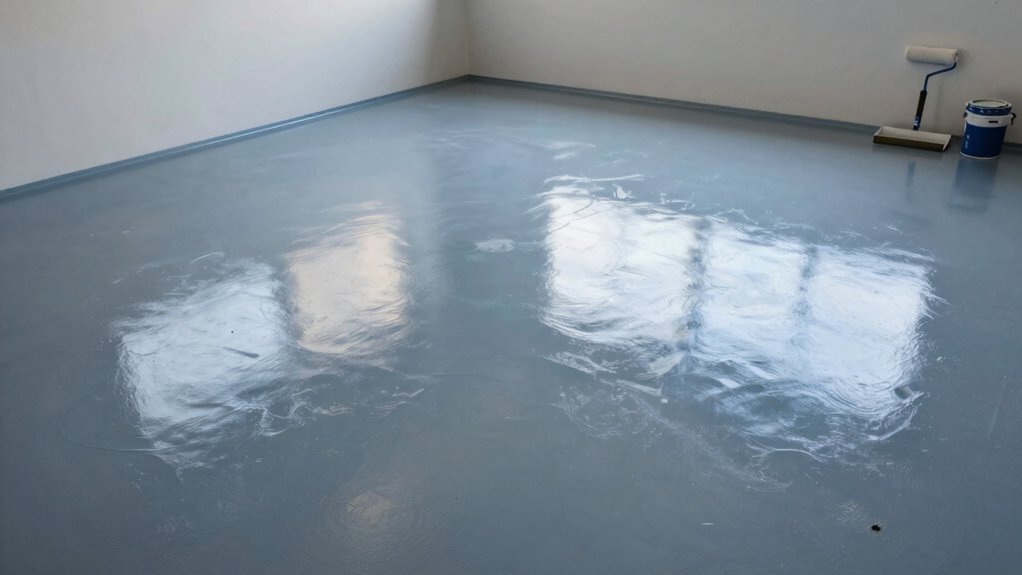
Step 1: Prep Your Garage for a Durable Finish
Start by inspecting your concrete surface and measuring for flatness, aiming for a maximum 1/8 inch deviation over 10 feet.
Next, apply a 60–120 grit profile with mechanical grinding to create a uniform key, then vacuum and wipe to remove 100% of dust before coatings.
Finally, document the surface profile and moisture readings, then proceed with the concrete profiling steps and surface preparation techniques to guarantee the best adhesion.
Surface Preparation Steps
Before applying any polyurea coating, you must thoroughly prepare the garage surface: remove debris, repair cracks, and create a clean, dry substrate.
You’ll follow a precise sequence to maximize Garage ventilation and polyurea durability. Surface prep sets the baseline for adhesion, cure, and long-term performance. Each step reduces failure risk and aligns coating thickness with manufacturer specs. Measure moisture, address potholes, and ensure cleanliness to prevent outgassing. Precision here saves time downstream and stabilizes cure conditions.
- Remove loose debris and dust with a vacuum and tack cloth
- Fill cracks with compatible filler, then sand flush
- Degrease concrete to remove oils and contaminants
- Verify moisture and ambient conditions meet spec requirements
Concrete Profiling Techniques
Concrete profiling establishes the base for a durable polyurea finish. You start with a precise assessment: identify surface irregularities, area extent, and moisture risk. Measure cracks, divots, and high spots to guide profiling depth, targeting 1–3 mm for profile tolerance.
Use a calibrated grinder or shot blast to achieve uniform roughness, tracking surface hardness with a test hammer or pull-off gauge. Document grit progression: begin coarse, then fine-tune to a consistent 60–120 grit equivalent.
Remove dust with industrial vacuum and tack cloths; guarantee zero residue. Verify profile uniformity across corners and transitions, re-profiling as needed.
Plan containment and ventilation for safety. This approach stabilizes adhesion for Garage flooring and Epoxy finishes, enabling even coating thickness and long-term performance.
Step 2: Compare Coating Thickness and Material Costs
Thickness matters and sets material use, so you’ll compare target mils to actual film thickness, then translate that to square-foot costs.
You’ll break down material costs by resin type, catalyst mix, and batch yield, using clear per-square-foot figures and a conservative wastage allowance.
You’ll also weigh application efficiency factors—surface prep impact, spray reach, cure time—to tighten the overall cost estimate.
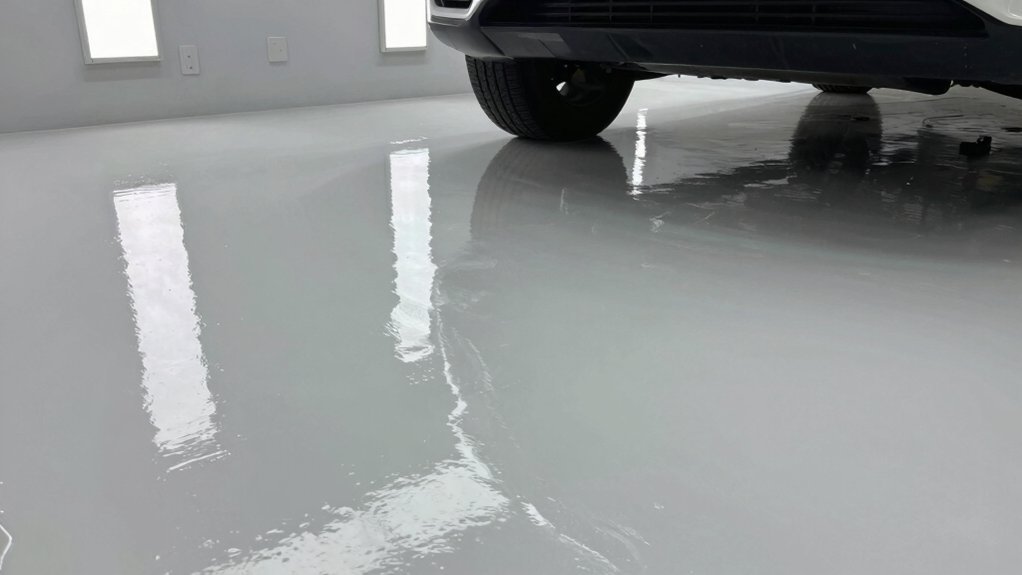
Thickness Matters Compared
Thickness matters because the coating’s performance hinges on the exact film depth you achieve. You’ll compare thickness targets to actual application rates, then translate those into material costs per square foot. Expect small deviations to shift you from a 80 mil to a 120 mil finish, with cost steps that compound quickly.
For a 2-car garage, every tenth of an inch changes resistance to damp, heat, and wear—and your budget. Plan around practical tolerances, not just ideal spec sheets. Also, consider how thickness interacts with lighting needs: thicker coats can alter reflections and perceived brightness, impacting garage lighting decisions.
Insulation needs may constrain achievable thickness in certain zones, so map thickness by area.
- Visualize a uniform slab: steady spread, clean edges, consistent texture.
- Imagine gaps closed, with each pass building toward target mils.
- Picture wiring, outlets, and lights unaffected by uneven film buildup.
- Envision final surface balance: sturdy, predictable, code-compliant.
Material Cost Breakdown
To accurately compare coating thickness and material costs, start by converting your target mils (e.g., 80 to 120 mils) into the total gallons required for the garage area. Then map those volumes to dollars using your supplier’s price per gallon and any delivery fees.
You’ll then compare material cost per square foot at each thickness, accounting for waste factors and pot life. Track four data points: intended thickness, total gallons, price per gallon, and delivery surcharge.
For a 2-car garage, thicker coatings mean exponential gallon increases, so use a calculator to maintain precision. Consider garage ventilation during the budgeting stage, since airflow influences curing time and material usage.
Also note paint color options, as pigments add minor weight and cost. Finalize with a per‑square‑foot target and a conservative contingency.
Application Efficiency Factors
When comparing coating thickness and material costs, start by translating your target mils into total gallons for the garage area and then apply your supplier’s price per gallon plus delivery fees. You’ll then compare achievable coverage versus required quantity, narrowing tolerance to avoid waste.
Consider the practical impact of thickness on cure, ventilation demand, and environmental impact, since thicker pours require longer off-gassing and more ventilation time. By calculating cost per square foot at actual thickness, you can decide if thinner, faster passes meet performance needs.
Efficiency gains come from optimizing spray passes, reducing recoat windows, and avoiding over-application that raises waste and volatile emissions.
- Precise mil-to-gallon math for exact cost per foot
- Ventilation timing tied to cure and off-gassing
- Real-world waste reduction with controlled passes
- Environmental impact considerations per batch size
Step 3: Understand Labor Rates and Application Time
Labor rates and application time are the two biggest variables you’ll see in polyurea bids, and understanding them upfront saves surprises. You’ll usually be quoted a per-hour crew rate plus surface-time estimates, plus any mobilization fees.
Expect two drivers: labor intensity (surface prep, detail work, and masking) and crew size. Application time scales with garage size, substrate temperature, and ventilation constraints.
Documented timing helps you compare bids: calculate total labor cost = hourly rate × hours, then add setup and teardown.
For a typical 2-car bay, plan 2–4 technicians over a half-day to full day, depending on prep. Check that the contractor notes garage ventilation and coating color options, since these can affect ventilation needs and curing times.
Verify all included tasks to avoid hidden charges.
How to Read Polyurea Quotes: What to Look For
Don’t skim the numbers—the quote should spell out exactly what you’re paying for and why. You’ll look for unit costs, surface prep, and material thickness, plus any additives that affect performance. Compare line items to the final area, noting how garage insulation and paint durability are priced separately or bundled. Watch for hidden fees, scheduling surcharges, and warranty terms that impact long‑term value.
Confirm a clear scope of work, including surface condition, substrate type, and cure time, to avoid later disputes. A precise quote translates into predictable outcomes and fewer surprises when you’re budgeting.
- Clear scope with surface prep, primers, and topcoat timing
- Itemized costs by area, thickness, and material grade
- Separate notes on garage insulation and paint durability
- Warranty, follow‑up maintenance, and contingencies
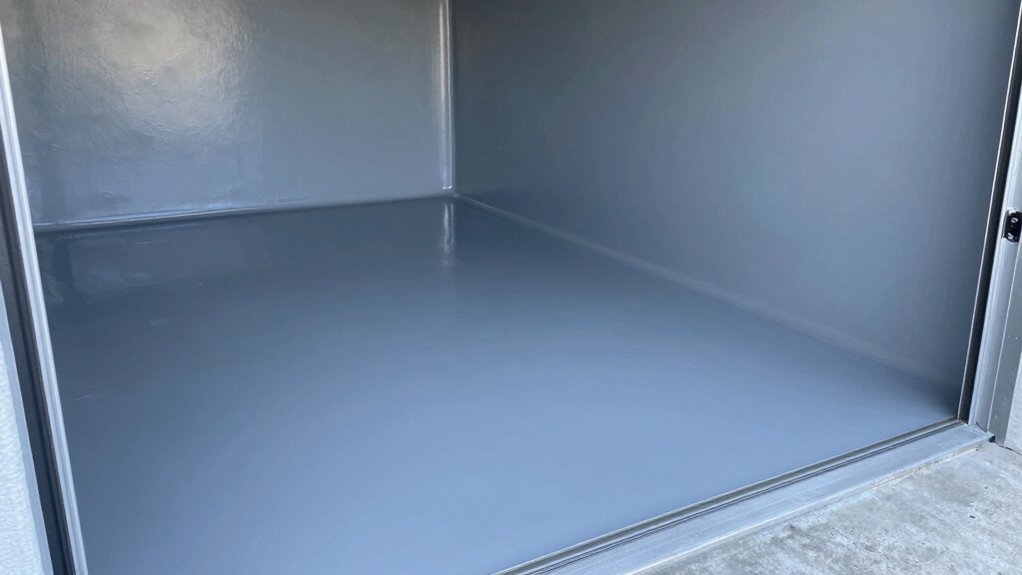
Budget Scenarios: Low, Mid, and High-End Installations
Low-end, mid-range, and high-end polyurea installations scale mainly by material thickness, surface prep rigor, and warranty coverage.
In practical terms, you’ll see cost ladders tied to thickness (10–20 mils vs. 40–60 mils), prep steps (debris removal, crack repair, moisture testing), and the chosen warranty window (2, 5, or 10 years).
For a standard 2-car garage, expect roughly 5–8% shifts per mil of thickness when comparing budget to premium setups.
Mid-range packages balance cure times, VOC limits, and applicator expertise, delivering dependable performance with moderate downtime.
Consider garage organization benefits, such as seamless drainage and cleaner maintenance, alongside environmental impact factors like low-VOC formulations.
Your final choice should align with long-term durability, future re-coating needs, and total lifecycle cost.
Signs You’re Getting a Fair Deal and When to Walk Away
To tell you when you’re getting a fair deal, start with three objective checks: price per square foot, material thickness and warranty alignment, and the quality of surface preparation.
If numbers align with market benchmarks, you’re in the right range; if not, push for specifics or walk away.
Compare thickness targets (e.g., 60–80 mils).
Verify warranty terms, coverage limits, and labor inclusions.
Assess surface prep diligence, dust control, and moisture tests.
Look for clarity on Garage organization and Insulation options as part of the proposal so future costs stay predictable.
Avoid vague promises and “soft” warranties.
Ensure vendor offers transparent breakpoints for add-ons, cleanup, and cure times.
- Clear price justification tied to square footage
- Concrete prep QA and moisture testing results
- Concrete thickness and coating schedule
- Documentation of Garage organization and insulation plans
Frequently Asked Questions
How Long Does Polyurea Cure Before Parking a Car?
Polyurea cures in about 1–2 days to handle parked cars, but full cure takes up to 7 days. Guarantee garage ventilation, monitor humidity, and follow curing time steps precisely for safe occupancy and ideal coating performance.
Can Polyurea Resist Chemical Spills and Oil Stains?
You’ll get strong chemical resistance and stain prevention with polyurea, like armor for your floor. You’ll see durable, fast-curing performance, quantified by resistance ratings and test results, making spills easier to clean and oils less likely to penetrate.
Is Ventilation Required During Application and Curing?
Yes, ventilation is required during application and curing. You should guarantee proper ventilation, monitor air quality, and follow manufacturer guidelines for application safety, including fume extraction and insufficient ventilation mitigation. Document ventilation requirements and maintain continuous monitoring throughout the process.
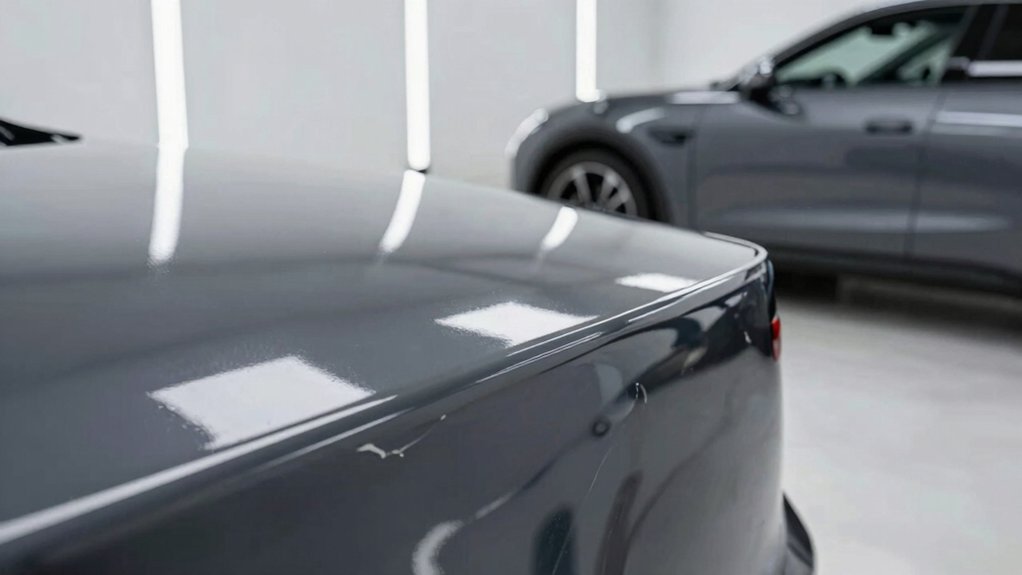
What Maintenance Does a Polyurea Floor Require?
Polish the scene in your mind: you wipe, epoxy-slick shine; maintenance is minimal. Rinse weekly, dust monthly, and reseal every 2–5 years. Garage aesthetics stay sharp; flooring thickness dictates wear resistance and long-term upkeep.
Does Color Choice Affect Durability or Cost?
Color options don’t affect durability much, but they can shift cost variation. You’ll see minor increases for custom shades, while standard colors stay near base price. You can choose confidently by weighing pigment batch costs and finish demand.
Conclusion
If you’re weighing polyurea for a 2-car garage, you’ll want a precise, numbers-first verdict. Picture the scene: upfront prep costs, then material thickness, then labor hours stacking like bricks. Expect ranges that tighten as you dial thickness from 20 mil to 80 mil, and factor in moisture prep, temperature windows, and cure times. Read quotes line by line, verify warranties, and demand itemized crews. When the math adds up and the timeline matches, you’ve found your solid, lasting payoff.