Painting your garage floor is a smart idea if you want easier cleanups, better chemical resistance, and a sharper look that can boost resale value. It protects against moisture and wear, and modern coatings dry faster and withstand heavy use. Expect a bit of prep—debris removal, crack filling, and etching—plus proper ventilation and curing time. Choose epoxy, polyurea, or a budget-friendly garage floor paint based on your maintenance tolerance and budget. You’ll uncover practical steps and tips as you go.
Is Painting Your Garage Floor Worth It? Benefits and Trade-offs
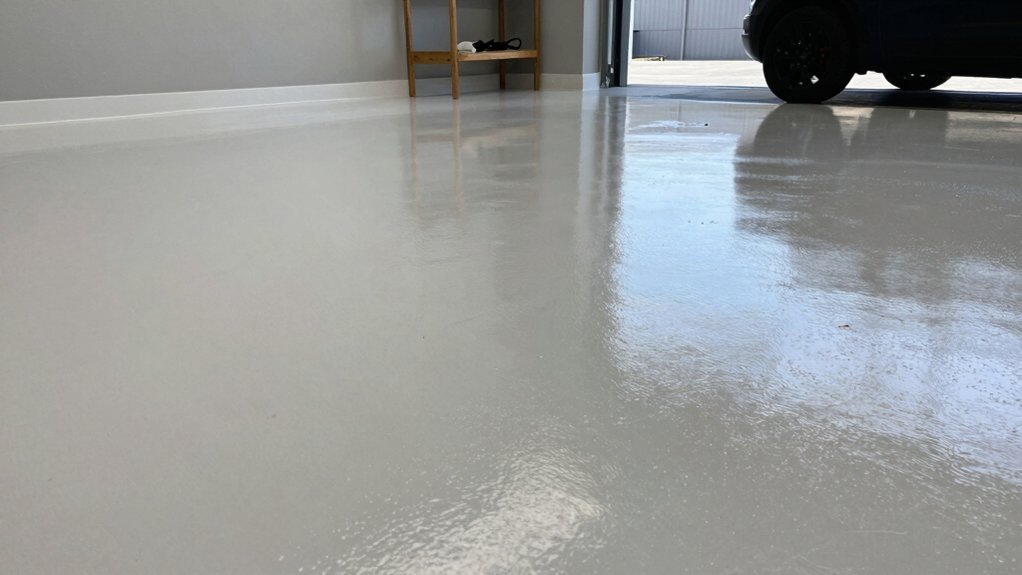
Painting your garage floor isn’t just about looks; it’s about long-term practical value. You weigh upfront effort and cost against ongoing maintenance, protection, and daily usability. Benefits are clear: easier cleanup, resistance to stains, and a brighter workspace that boosts garage aesthetics.
A coated floor can extend slab life by guarding against moisture, chemicals, and wear from heavy carts or工具. Trade-offs matter too: some systems require surface prep, ventilation, and curing time, plus periodic touch-ups to prevent peeling.
You’ll need to contemplate moisture levels, foot traffic, and potential use as a workshop space. If you value tidy, durable spaces, painting pays off by enhancing resale value and daily practicality, especially when you photograph the area for listings or showings.
Decide on a Finish: Epoxy, Polyurea, or Garage Floor Paint
Choosing a finish hinges on how you’ll use the space and what you’re willing to maintain: epoxy for hard, chemical-resistant floors; polyurea for fastest cure and flexible durability; or garage floor paint for a budget-friendly, easy-to-apply option.
Finish options guide your decision, shaping maintenance and application techniques you’ll master. Consider how often you’ll wheel carts, spill solvents, or park vehicles with salt on tires.
- Epoxy: strongest defense against chemicals and abrasion, longer cure time.
- Polyurea: rapid cure, temperature tolerance, more flexible under load.
- Garage floor paint: simple, cost-conscious, quick DIY, limited chemical resistance.
- Layering: consider primer, decorative chips, topcoat for durability and aesthetics.
Prepare Your Surface: The Essential Prep Step-by-Step
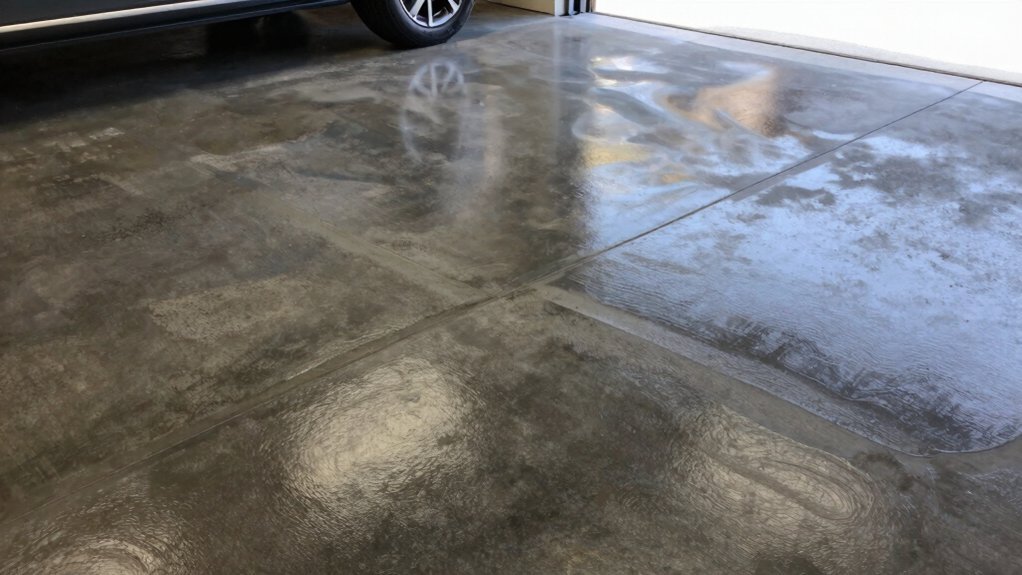
Before you apply any finish, you must start with a squeaky-clean, sound surface. You’ll prep in clear steps: clear the area, remove debris, and sweep meticulously so nothing muddies adhesion. Assess for cracks or pits, then fill them with epoxy paste or concrete patch, letting it cure fully. Sand glossy spots to a dull texture so coatings grip.
Degrease with a solvent cleaner, then rinse and dry completely—overnight if needed. Etch or use a suitable concrete etchant to open pores, rinse again, and dry thoroughly. Tape edges to protect adjacent surfaces.
Consider color options for the base coat only after you’ve achieved uniform porosity. Safety precautions matter: ventilation, gloves, goggles, and a mask keep you safe while you prep.
Apply and Finish: Practical Painting Tips and Best Practices
After ensuring the surface is clean and fully cured, start applying the base coat in manageable sections, using a long-nap roller for uniform coverage and a compatible brush for edges.
You’ll finish stronger if you plan color matching before you start, testing a small area and comparing with chips in the same light.
Follow practical steps to protect neighboring surfaces, maintain steady strokes, and avoid lap marks.
Ventilation tips keep air safe and dry: open doors, use fans, and wear a mask.
Use the same applicator for coats to prevent texture differences.
1) Maintain a wet edge to reduce streaks.
2) Work methodically in sections to control drying.
3) Allow proper cure time between coats.
4) Inspect for even color and adhesion before moving on.
Maintain Your Coating: Cleaning, Touch-Ups, and Longevity
Maintaining your garage coating means staying proactive: clean as needed, touch up promptly, and plan for long-term durability. You’ll establish simple cleaning routines that minimize buildup without harsh scrubbing. Use a mild detergent and soft mop, working in small sections to avoid slick spills. Dry the floor thoroughly before it cures to prevent stains or dull spots.
For wear areas, apply touch up techniques with a fine brush or roller, feathering edges to blend seamlessly with the surrounding coating. Schedule periodic inspections after heavy use or weather changes, addressing chips or scratches before corrosion starts. Protect high-traffic zones with mats or runners.
Consistency keeps the finish resilient, glossy, and easy to maintain over years of garage use.
Troubleshooting and Cost Considerations

When you’re troubleshooting a garage floor coating and weighing costs, start by identifying the symptoms: peeling, cracking, dulling, or uneven texture, then compare them to your product specs and curing conditions.
Then perform a focused cost analysis to decide if repairs beat replacement.
Below are concise troubleshooting tips that save time and money:
- Compare surface prep costs to expected lifespan and warranty coverage.
- Measure downtime impacts and potential moisture or humidity errors.
- Factor primer, topcoat, and additive costs against durability gains.
- Assess DIY labor vs. professional application and warranty implications.
If symptoms persist, revisit surface prep and curing conditions before deciding on new materials.
Budget-aware decisions prevent over-spending while maintaining performance.
Frequently Asked Questions
How Long Does a Garage Floor Coating Last?
A garage floor coating lasts about 5–10 years with proper care. You’ll boost epoxy durability through temperature control and moisture barriers, while coating maintenance—regular cleaning and resealing—helps you preserve shine, abrasion resistance, and long-term performance.
Can I DIY or Should I Hire a Pro?
Can you DIY or should you hire a pro? You can DIY for DIY advantages, saving money, but you’ll miss professional benefits like flawless prep and lasting durability. You’ll weigh convenience, time, and quality before deciding.
Will Coatings Resist Oil Spills and Chemicals?
Yes, coatings with chemical resistance protect against oil spills and solvents; they’ll maintain surface durability even after spills. You’ll want a high-build epoxy or polyaspartic system, proper etching, and cleanups to keep the floor lasting.
How Long Before the Floor Is Usable?
Paint dries to usability in about 24 to 48 hours, depending on temp and humidity. You’ll need proper floor preparation, then curing time; avoid traffic until fully cured, and you’ll enjoy a durable, return-to-workable surface.
Are There Odor or VOC Concerns During Curing?
Yes, you’ll notice odors during curing, and ventilation concerns matter. Make certain continuous airflow, wear a respirator, and monitor VOC safety; use low-VOC products, open doors, and fans to keep air moving and emissions minimal.
Conclusion
Painting your garage floor isn’t magic; it’s a measured trade-off. You gain a cleaner, brighter space, but you’ll trade some DIY time for prep, coats, and cure time. Epoxy gleams with durability, yet demands meticulous prep; paint is friendlier to budgets but thinner, needing touch-ups sooner. Juxtapose routine spills against polished ease: effort now, cleaner years later. If you value practicality and a defined finish, go for it; if you crave instant perfection, hire a pro.