Do I Need To Seal My Concrete Garage Floor Before Painting?
Yes, you should seal your concrete garage floor before painting. Sealing blocks moisture, boosts adhesion, and helps the finish last longer. It also smooths the surface, reduces staining, and improves slip resistance for a workshop. Start with thorough cleaning, drying, and moisture checks; fix cracks as needed. Choose a compatible sealer and primer for your slab and paint, then test a small patch. If you keep going, you’ll learn practical steps for a durable, professional result.
Table of Contents
Do I Need to Seal Before Painting Concrete Floor?
Yes, you should seal a concrete floor before painting. Sealing prevents moisture ingress and improves adhesion, reducing peeling risks down the line.
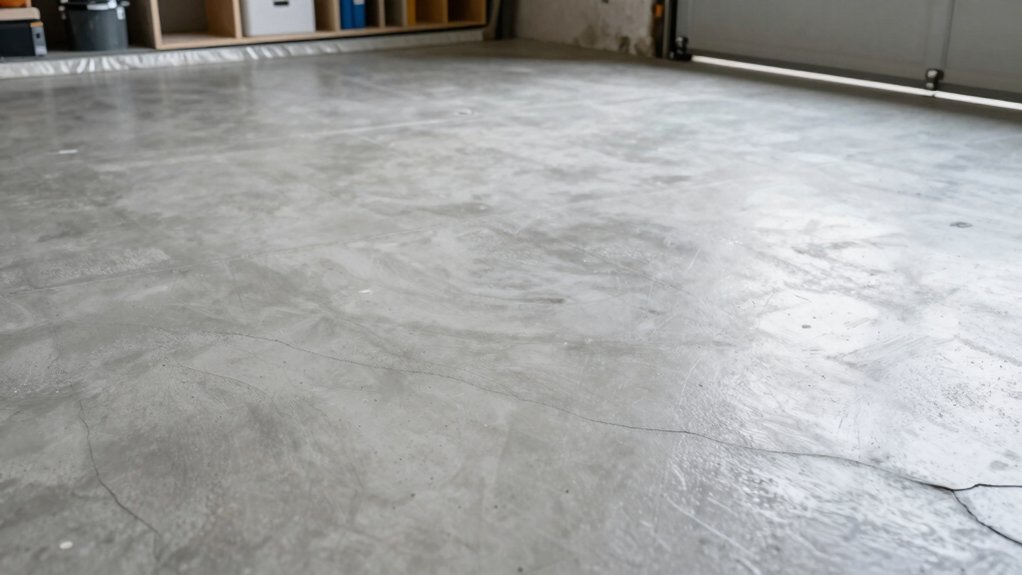
If your garage serves as a workshop or storage area, consider how it’ll impact visibility and organization. Proper sealers create a smooth, non-slip surface that tolerates spills and frequent cleaning.
Choose a product compatible with your planned paint, and follow manufacturer directions for cure times.
In spaces with Garage lighting, a sealed floor helps reflect light, brightening work zones.
For Storage solutions, a sealant minimizes staining from oils or solvents and eases maintenance.
Apply evenly in thin coats, allow full cure between steps, and ventilate.
Seal first, then paint, to achieve a durable, professional-looking finish.


Assess Slab Condition and Paint Type
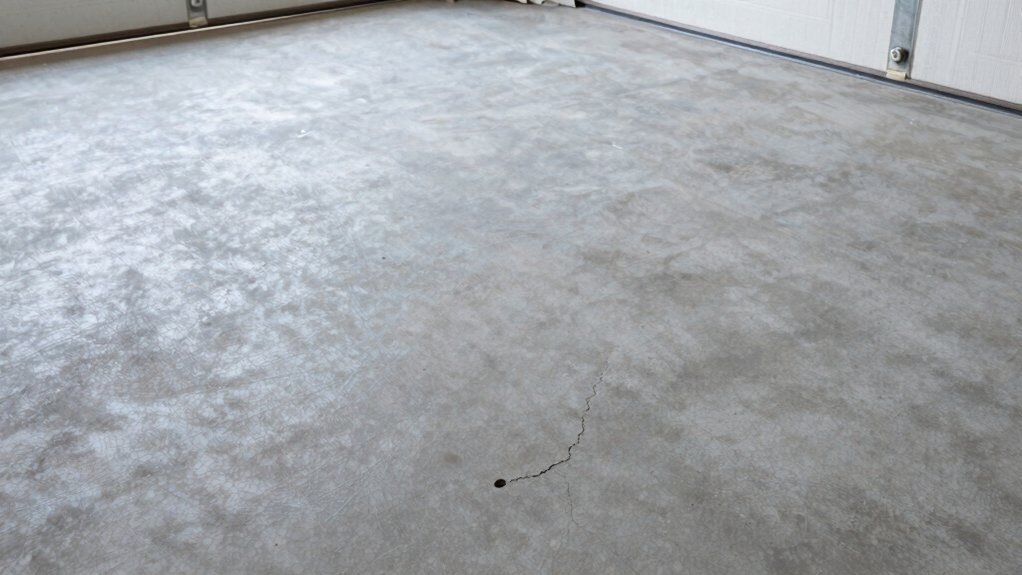
Before you choose paint, inspect the slab for cracks, moisture signs, and surface texture, since these factors dictate both repair needs and the best paint system. You’ll choose a coating based on condition: hairline cracks may require crack filler, while wide or shifting cracks call for structural assessment before finishing.
If moisture is present, address it first, then select a breathable or moisture-tolerant system. For surface texture, smooth slabs take low-sag coatings; rough or pitted concrete benefits from more robust coatings.
Epoxy coatings deliver hard, chemical-resistant interiors, but require a pristine base. If you want a cleaner look or easier maintenance, decorative finishes can provide texture and style without sacrificing durability.
Align paint type with slab condition for lasting adhesion and performance.
How Sealing Affects Paint Adhesion
Sealing a concrete garage floor directly influences paint adhesion by sealing the pores and reducing surface moisture transmission, which helps paints bite and cure properly. When you seal, you create an even substrate that minimizes tacky spots and pinholes, so your coating can lay down smoothly. This improves bond strength for most paints and primers, including epoxy coatings, which rely on good surface compatibility to perform over time.
Sealing also reduces dusting and helps maintain a uniform appearance, so decorative finishes stay consistent from edge to edge. However, choose a sealant compatible with your chosen paint system; incompatibilities can weaken adhesion or cause peeling.
In short, proper sealing optimizes adhesion, durability, and finish quality without adding unnecessary steps.
Surface Prep That Matters: Cleaning, Drying, and Moisture Checks
Cleaning, drying, and moisture checks come next because even a sealed floor can fail if you don’t prep properly. You start with a thorough cleaning to remove oil, grease, and dust that can interfere with adhesion. Use a degreaser on stubborn spots and scrub until the surface feels tacky-free. Rinse well and let the concrete dry completely; moisture left behind sabotages sealant performance.
Drying may take longer in damp or cold spaces, so use fans or heaters to speed airflow. Perform a simple moisture check—wipe with a clean cloth; if it darkens or you see water bead, extend drying time.
Once dry, consider applying a moisture barrier if your slab shows elevated humidity. This ensures better sealant application and long-lasting results.
Choosing Compatible Sealer and Paint for Concrete Floors
Choosing a compatible sealer and paint starts with matching chemistry: verify the sealer’s bond and the paint’s adhesion work together, and check for any explicit “sealer-to-paint” compatibility notes.
In practice, follow the manufacturer’s guidelines for surfaces like concrete slabs and look for products labeled for use over sealers or that are designed for concrete floors.
We’ll cover the basics of Sealer Compatibility Basics and Paint Bonding Guidelines to help you pick a system that lasts.
Sealer Compatibility Basics
When selecting a sealer and paint for concrete floors, compatibility matters first. You must guarantee the sealer’s chemistry works with the paint’s binder and pigments, preventing peeling or hazing.
Start by confirming chemical compatibility: check product datasheets for compatible primers, sealers, and topcoats, and note any solvent or moisture limits.
Next, assess surface preparation requirements and substrate porosity, since poor adhesion sabotages long-term performance.
Consider application techniques that influence results: temperature, humidity, and cure times can alter film formation and layer interlock.
Favor products designed to pair specifically (sealer plus coating systems) rather than mixing brands haphazardly.
Finally, run a small test patch to observe adhesion, finish, and impact on slip resistance before full-floor application.
This approach minimizes failures and yields predictable, durable protection.
Paint Bonding Guidelines
To guarantee reliable paint bonding on a concrete floor, start by verifying that the sealer and paint are designed to work together. You should look for matching systems specified by the manufacturer, not mixed brands. Check adhesion data, cure times, and surface preparation requirements for both products.
If you’re using epoxy coatings, ensure your topcoat is compatible with the underlying sealer and won’t cause delamination. For decorative finishes, confirm the sealer won’t alter texture or color adversely and that the paint adheres over it without cracking.
Always test a small on-site area before full application. Follow the manufacturer’s recoat intervals, ventilation, and cure conditions.
Proper pairing reduces peeling, haziness, and maintenance needs while delivering a durable, uniform appearance.


Quick Checklist for a Durable, Professional Finish
Before you seal, verify your surface is clean, dry, and free of dust, oil, and curing compounds.
Choose the right primer and sealer for your concrete and plan for proper curing and maintenance to extend durability.
Keep these essentials in mind: surface prep, primer/sealer selection, and ongoing care for a professional finish.
Surface Preparation Essentials
Surface preparation is the foundation of a durable, professional finish, so start with a clean slate: remove all dust, oils, and debris, then identify and fix any cracks or uneven spots. You’ll create a stable base by sweeping, vacuuming, and wiping with a mild degreaser.
Etch or grind high spots only if needed to achieve a uniform surface, then rinse and dry completely.
Repair cracks with a suitable filler, feathering edges to blend.
Lightly scuff glossy areas to improve adhesion.
Protect adjacent surfaces and plan your coating path to avoid overlaps.
Consider color options and decorative finishes early to ensure compatibility with floor texture.
Test adhesion in a small area before full application, and document any repairs for future reference.
This groundwork supports a lasting, professional result.
Primer and Sealers Choice
Choosing the right primer and sealer sets up long-lasting adhesion and a uniform topcoat. Start with a solvent- or water-based option compatible with your concrete, paint, and environment.
For basement or garage floors, choose a high-adhesion primer to lock in porosity and curb pinholes. If your concrete has existing sealer or contaminants, use a suitable degreaser and a compatible primer first.
Apply a thin, uniform coat to prevent puddling, then let it dry fully per manufacturer guidelines. Select sealers that resist abrasion and chemical exposure typical in garages.
Consider color matching to your final paint shade, ensuring the primer won’t alter tone. If you want decorative finishes, pick primers and sealers that support texture or color depth without compromising adhesion.
Curing and Maintenance Tips
Proper curing and maintenance are essential for a durable, professional finish. To guarantee longevity, keep traffic light during cure and avoid moisture exposure for at least 48 hours.
After curing, clean regularly with a non-abrasive cleaner to prevent buildup that can dull gloss. If you aim for a polished look, consider periodic burnishing or light grinding to maintain surface shine without compromising coating integrity.
For repairs, match patches to the base color and texture, then re-seal to preserve uniformity. When planning updates, explore options like concrete polishing for a low-maintenance sheen or decorative overlays to refresh aesthetics without removing the existing coating.
Schedule inspections seasonally to detect cracks or wear early, addressing issues promptly to extend the finish’s life and your garage’s value.
Frequently Asked Questions
Can Epoxy Coatings Replace Sealing Before Painting Concrete Floors?
Epoxy coatings aren’t a full substitute for sealing; they don’t always penetrate and protect like a dedicated sealant. For garage floor preparation, weigh epoxy vs sealant, considering moisture, porosity, and intended wear before you decide.
How Does Old Paint Affect New Sealer and Paint Compatibility?
Old paint can hinder paint adhesion, so you must evaluate compatibility first. Scrape, clean, and abrade the surface for proper surface preparation; this improves paint adhesion and ensures new sealer sticks, preventing peeling or flaking.
Is Moisture Test Required After Sealing but Before Painting?
Yes, you should perform a moisture test after sealing but before painting to confirm the surface is dry enough. During the sealing process, verify concrete moisture is under thresholds specified by your coatings, preventing peeling or adhesion failures.
Do Temperature Swings Impact Cured Sealer Performance?
Temperature fluctuations can reduce sealant durability, so you’ll want to choose a formulation rated for wide ranges and apply proper curing. You’ll notice better performance when joints and surfaces are clean, dry, and protected from rapid temperature shifts.
Are Stain-Blocking Sealers Better for Painted Garages?
Yes, stain-blocking sealers can help, but make certain of proper garage floor prep and choose solvent-based options for better adhesion. Follow sealer application techniques precisely, apply evenly, and allow full cure before painting to minimize peeling and staining.
Conclusion
You’ll move faster when you prep right: assess the slab, choose compatible sealer and paint, clean thoroughly, dry completely, and test moisture. If you seal, you’ll boost adhesion and curb peeling; if you don’t, you risk bond failure and more maintenance. Think of your floor as a canvas that’s dry and primed—your sealant and paint act like a coat and glaze, locking in durability. Plan, proceed, and finish with confidence.