
How To Prepare Concrete Before Applying Garage Floor Paint
Applying garage floor paint over unprepared concrete is one of the most common DIY mistakes that leads to peeling, flaking, and premature failure within months of application. Understanding how to prepare concrete before applying garage floor paint determines whether a coating performs as intended, because paint cannot bond to surfaces contaminated with oil, dust, or weak surface material. Most coating failures stem not from poor paint quality but from skipped preparation steps that leave invisible barriers between the concrete and the topcoat. Professional results require addressing cracks, removing contaminants, and creating a suitable surface profile through mechanical or chemical means.
Assess the concrete first for cracks, spalling, and joints. Clean thoroughly—sweep, degrease, scrub stains, and rinse until grime is gone. Repair cracks, holes, and gaps with patching compound or hydraulic cement, then seal joints. Roughen the surface by etching or grinding for good adhesion. Test moisture with plastic sheets or moisture meters; verify it’s below thresholds, then wait as needed. Choose the right primer, apply, and prep for painting—there’s more you can learn next.
Table of Contents
Assess Concrete Condition: Cracks, Spalling, and Joints
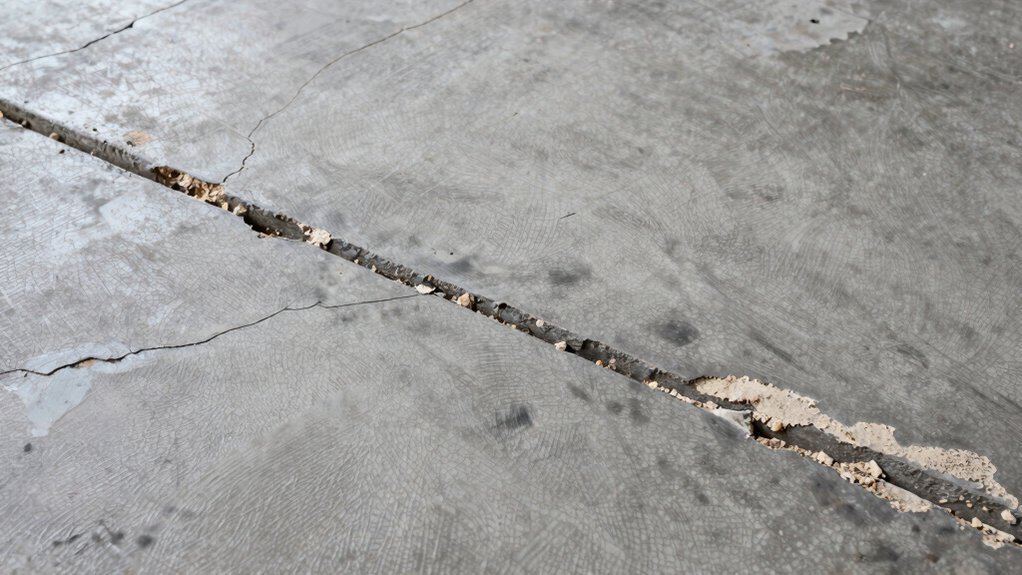
Assess the concrete condition by inspecting for cracks, spalling, and joints. You start by scanning for visible cracks, chips, or spalling that may need repair before painting.
Measure the width and depth of cracks, prioritizing those wider than 1/8 inch for sealing or filling.
Check control joints for dirt, debris, or damage, and guarantee they’re properly filled or repaired as needed.
Use a concrete grinder or patching compound to smooth out rough or chipped edges around joints and cracks.
Guarantee all control joints are straight, clean, and free of loose material to promote proper adhesion of paint and repair materials.
Confirm surface integrity before proceeding to cleaning, etching, or priming for top performance.
Clean and Degrease the Floor Thoroughly
To guarantee a solid bond for the paint, you must start by thoroughly cleaning the floor. Begin by sweeping or vacuuming the entire surface to remove loose dirt, dust, and debris.
Next, apply a concrete degreaser to eliminate oil, grease, and other contaminants that can hinder adhesion. Scrub stained areas with a stiff-bristled brush to ensure complete removal of stubborn spots.
After treatment, rinse the floor thoroughly with clean water and allow it to dry completely.
Inspect for remaining contaminants or stains; repeat cleaning if necessary to achieve a spotless surface.
Once clean, you’re ready to proceed. Remember to avoid leaving residue and to verify the area is dry before moving to the next step.
Degrease only as needed for problem areas.
Repair Cracks, Holes, and Joint Gaps Properly
Before filling, clean all cracks, holes, and joint gaps to remove dirt, debris, and loose material.
Then use a high-quality patching compound or hydraulic cement to fill cracks and holes, smoothing the surface with a trowel.
For control joints and expansion gaps, guarantee they’re clean and free of dust, then seal with a compatible crack filler or sealant to prevent water infiltration.
Grind or chip away protruding edges around cracks and holes to create a flush, even surface that promotes adhesion.
Allow repaired areas to cure fully according to manufacturer instructions before proceeding with surface preparation steps.
When finished, recheck for levelness and recut any overly high edges if needed to maintain a continuous, paint-ready plane.
Etch or Grind for Adhesion: Creating Roughness
After repairing cracks, holes, and joints, the next step to guarantee paint sticks is creating a rough, textured surface. You achieve this by etching or grinding to form a consistent rough surface, roughly like 80-180 grit sandpaper.
Etching uses a diluted acid solution to chemically roughen the concrete, but you must thoroughly rinse and dry it afterward.
Mechanical grinding with a diamond cup wheel or shot blasting directly abrades the surface to produce a uniform texture that enhances adhesion.
This rough surface helps the garage floor paint bond securely, reducing peeling, bubbling, or premature failure.
Always wear PPE to protect against dust, chemical vapors, and debris generated during etching or grinding.
Ensure the work area stays controlled and clean before proceeding to priming.
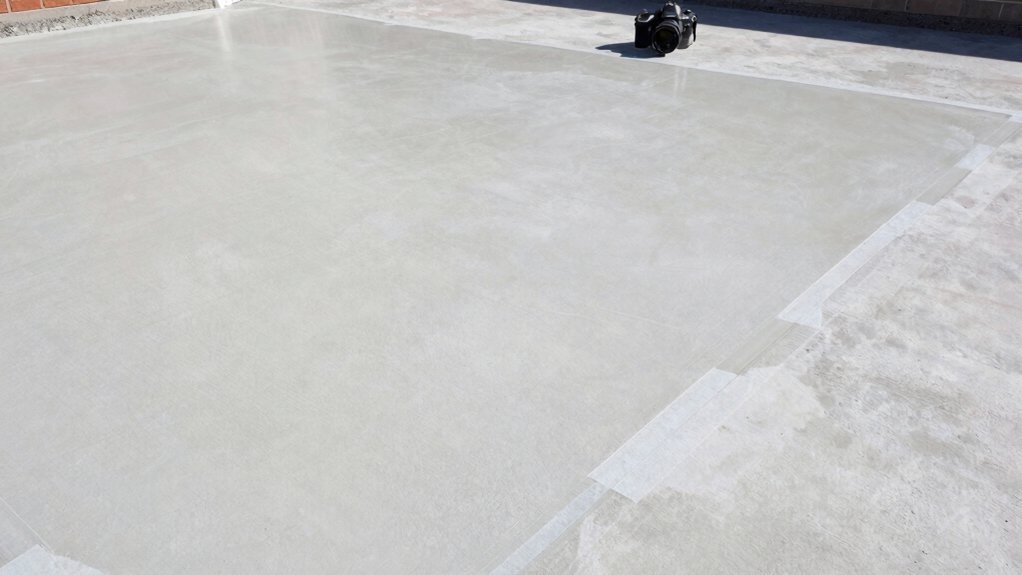
Test Moisture: Ensure Dryness Below Thresholds
Dryness is non-negotiable for garage floor paint to perform. Before applying, run a moisture check on the concrete surface to confirm it’s dry enough.
Do a plastic sheet test by taping a 12” x 12” patch for 24 hours; any condensation or dark spots mean moisture is present, so delay coating.
For faster results, pour a small water test: if it soaks in within a few minutes, the surface is dry enough for coating.
You can also use a calcium chloride kit, aiming for less than 12 lbs per 1,000 sq ft in 24 hours to guarantee proper epoxy adhesion.
After cleaning or sealing, allow 24–72 hours for moisture to evaporate.
Avoid painting on damp or moist concrete to prevent bubbling and poor adhesion.


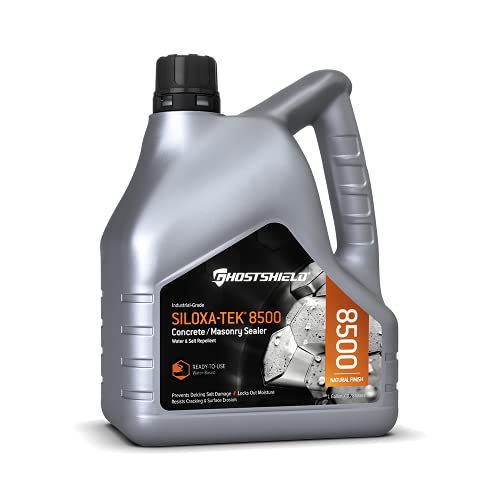
Choose the Right Primer and Sealer
Choosing the right primer and sealer is key to a durable garage floor finish. Start with a primer that improves adhesion and durability, especially on porous or previously painted surfaces. Guarantee compatibility with your garage floor paint to avoid peeling or uneven coverage.
Apply a penetrating sealer before painting to block moisture intrusion, which can cause bubbling and damage later. For areas with higher moisture or chemical exposure, opt for epoxy-based sealers to boost moisture resistance and chemical protection.
Check that both primer and sealer are compatible with the chosen topcoat, and follow manufacturer curing times. Allow the primer or sealer to cure fully, typically 4-24 hours, before applying the topcoat for a solid, long-lasting bond.
This step minimizes failures and extends finish life.
Confirm Paint-Readiness: Safety Checks and Final Prep
Before you apply paint, verify the surface is truly ready. Start with a moisture check: tape a 12×12 inch plastic sheet for 24 hours or use a calcium chloride test to confirm moisture is below 3-4%. If damp, wait and re-test.
Inspect for damage—cracks, chips, or spalling—and repair with appropriate patching compounds so the surface is smooth.
Remove all loose dirt, dust, grease, and oil stains by sweeping, vacuuming, and degreasing; ensure a clean surface free of contaminants. Verify no old paint or efflorescence remains.
Ensure repairs and surface profiling are complete, and that the area is dry before priming. Confirm there’s no residual moisture under any remaining dust, and proceed to coating.
Check the KILZ Store for great products for this job.
Why Preparation Matters:
Paint relies on mechanical and chemical adhesion to bond with concrete, but contaminated or weak surfaces prevent this critical connection from forming properly. Oil stains create invisible barriers that cause coatings to lift in sheets, while dust and laitance—the weak, powdery layer on cured concrete—offer no structural integrity for paint to grip.
Concrete that hasn’t been properly profiled remains too smooth for coatings to establish adequate mechanical grip, leading to delamination under traffic stress or thermal cycling. Moisture trapped beneath improperly sealed concrete generates hydrostatic pressure that pushes coatings away from below, whilst existing sealers or previous coatings must be completely removed or they’ll simply transfer the adhesion failure to your new paint layer.


Frequently Asked Questions
How to Prep Concrete Garage Floor for Paint?
Clean and prep like night meets day: you sweep and degrease, then repair cracks, grind smooth, and etch for grip. Dry thoroughly, test moisture, fill joints, finally prime, then paint for durable, lasting garage floor coverage.
Do You Need to Prime Concrete Garage Floor Before Painting?
Yes, you should prime the concrete garage floor before painting. It improves adhesion, seals porosity, and creates a uniform surface, especially on bare or previously painted concrete. Allow the primer to cure fully before applying the top coat.
How to Seal a Concrete Garage Floor Before Painting?
Seal the concrete by cleaning deeply, repairing cracks, etching for adhesion, and fully drying. Apply a high-quality sealer uniformly, let it cure 16–24 hours, then test for moisture before painting to guarantee proper bond.
Do You Need to Seal Concrete Before Painting?
Yes, you should seal concrete before painting. Sealing minimizes moisture issues, creates a smooth adhesion surface, and reduces stains. Wait at least 24 hours after sealing, then prime and apply your garage floor paint for best durability.
Conclusion
Your garage floor is ready for paint once it’s clean, repaired, and dry. Don’t rush the dryness test— moisture below the 3–4% threshold protects adhesion and longevity. Use the right primer to seal porous concrete and block stains, then apply your topcoat evenly. Remember: preparation isn’t optional—it’s the foundation of a durable finish. The key is consistency; thorough prep now prevents costly repairs later. And, as the saying goes, “measure twice, coat once” to ensure lasting results.