Shark garage floor coating costs range from affordable basic systems to premium setups, driven by the formula type, surface prep, and installation complexity. Expect higher prices with epoxy or premium polyaspartic formulas, decorative flakes, and warranties. Your total hinges on garage size, prep needs, and whether you DIY or hire pros. Add-ons like color, texture, UV or chemical protection raise the bill. For accuracy, gather multiple quotes and compare scope, warranties, and containment—you’ll see how much you can save by planning ahead if you keep exploring.
How Much Does Shark Garage Coating Cost?
Garage floor coatings vary in price, and Shark Garage Coating is no exception due to product line, surface prep needs, and installation complexity. You’ll see price variation based on epoxy vs polyaspartic formulas, decorative flakes, and warranty options.
To estimate, consider material costs, primers, and topcoats, plus tools for prep and application. If you’re aiming for durability with a DIY installation, expect higher upfront costs for quality kits and kits’ accessories, then savings over time from reduced maintenance.
For Garage organization, a well-coated floor enhances efficiency by clearly delineating work zones and improving containment.
DIY installation can lower labor fees, but allocate time for proper surface prep, ventilation, and cure times.
Compare options, read specs, and choose a coating that aligns with your storage goals and budget.
What Drives Shark Garage Coating Price?
Three main factors drive Shark Garage Coating prices: formula type, surface prep requirements, and installation complexity. You’ll see higher costs with advanced formulas that offer UV resistance, chemical resistance, or anti-slip features.
Surface prep matters too: if your concrete needs grinding, patching, or moisture mitigation, expect added labor and materials.
Installation complexity can boost pricing when multiple coats, texture patterns, or drainage considerations are involved.
To optimize value, plan DIY-friendly prep where possible, but don’t skip essential surface conditioning, as poor prep harms durability.
Consider garage maintenance goals: fewer repairs save money over time, and a durable finish protects flooring durability.
Understand these levers before requesting quotes, so you balance upfront investment with long-term protection and performance.
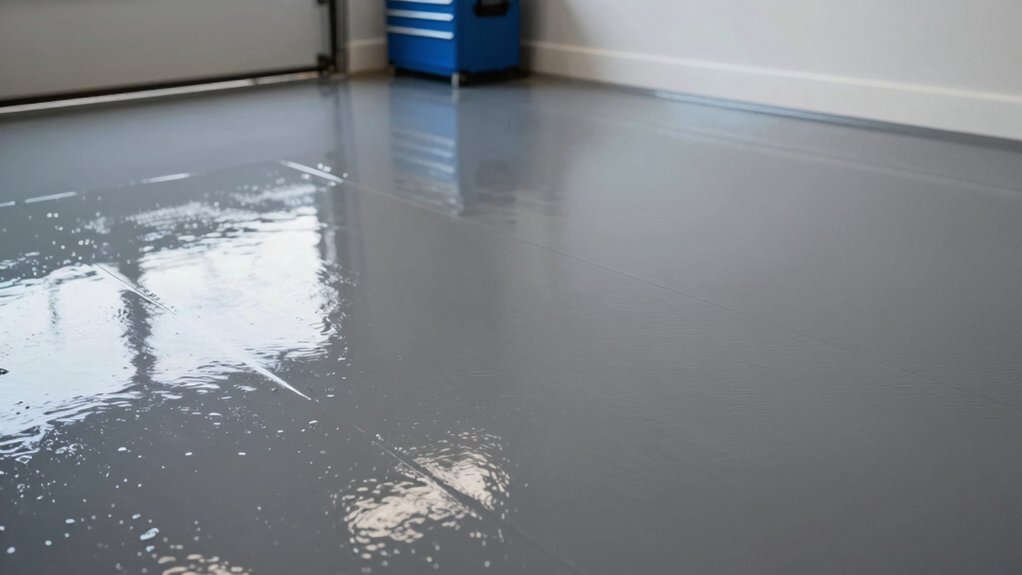
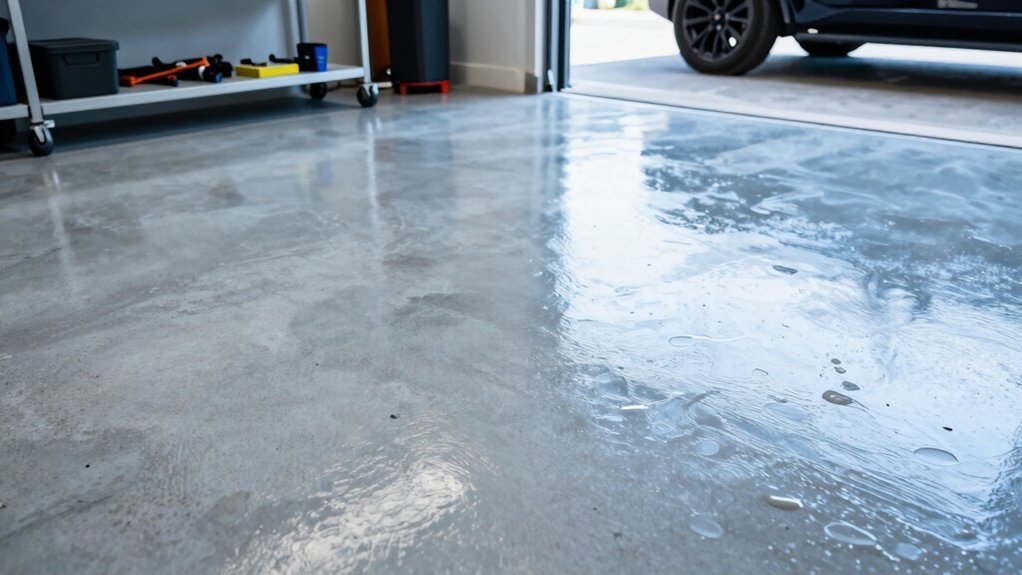
Shark Coating for Garages: Basic, Premium, and What You Get
Shark Garage Coating comes in two practical tiers—Basic and Premium—each designed to fit different budgets and needs, with clear differences in protection and features you’ll actually notice.
In this section, you’ll understand what you get with each option and how it supports long-lasting garage use. Basic covers essential protection, straightforward application, and reliable water and chemical resistance, making it ideal for value-focused projects.
Premium adds enhanced durability, quicker curing, and tougher wear resistance for high-traffic spaces or parked heavy vehicles.
Key outcomes you’ll experience include improved Garage durability and easier maintenance.
Surface preparation stays critical for both tiers: clean, dry, and sound concrete guarantees adhesion and a solid, lasting finish.
Choose based on footprint, usage, and expected exposure.
Add-Ons That Change the Total: Color, Texture, and Protection
Color options matter for visibility and curb appeal, so you’ll want to weigh how color choices affect hiding stains and matching your space.
Texture adds grip and safety, especially in wet or high-traffic areas, so consider how a finer or coarser finish fits your garage use.
Protective layer variants—topcoats, UV, and chemical resistance—can swing the total cost while extending longevity, so pick a combination that aligns with your climate and maintenance routine.
Color Options That Matter
Choose a color, texture, and protection plan that fit your garage’s lighting and use, because these add-ons directly change the finished look and cost.
When picking color options, focus on how you’ll use the space: brighter hues reflect more light in dim rooms, while deeper tones hide dirt between cleanings.
For durability, select colors that pair with your coating’s gloss level to minimize maintenance.
Consider low-VOC options to reduce environmental impact while keeping solid coverage.
You’ll also weigh shade availability against showroom samples; not every color matches every base coat.
For garage aesthetics, cohesive tones boost resale appeal and daily satisfaction.
Finally, balance personal preference with practicality, ensuring the chosen color supports your lighting, cleanliness routine, and environmental impact goals.
Texture For Grip
Texture for grip can dramatically improve safety and usability, especially in a busy garage where floors get slick from rain, oil, or snow. You’ll want a tactile finish that resists abrasion without sacrificing flow for carts and shoes. Choose grit levels that balance traction with ease of cleaning, keeping maintenance practical for weekly garage sessions.
Epoxy and polyaspartic systems offer textured coats that boost footing while preserving color clarity, so your garage aesthetics stay sharp. Application speed matters: a faster cure reduces downtime, but ensure proper curing to maximize coating durability.
Consider UV resistance and chemical tolerance for long-term performance. For value, opt into a textured topcoat that blends grip with cleanability, aligning with your budget and durability goals.
Protective Layer Variants
Ever wondered how adding protective layer variants can change the total cost and performance of your garage floor? You’ll find color, texture, and protection options that tailor durability and look without overhauling the base coating.
Color variants let you match or contrast with your workspace, while textured finishes improve grip and hide wear. Texture choices may add subtle grip or a smoother surface for cleaning, depending on your routine.
Protection upgrades, like UV resistance or chip barriers, extend longevity and reduce maintenance. Consider epoxy alternatives if you want faster cure times or different aesthetics, but weigh compatibility with Shark coating.
For eco-conscious projects, seek environmentally friendly options that meet durability needs without harmful emissions. Balance upfront costs with long-term savings for best value.
DIY vs. Pros: Pros, Cons, and Break-Even Points
If you’re weighing DIY vs. hiring pros for a garage floor coating, start by weighing the pros and cons against your budget, time, and tolerance for hassle.
DIY offers lower upfront costs, flexible timing, and hands-on control, but it comes with DIY risks like surface prep mishaps, inconsistent coatings, and longer cure times.
Pros include learning a useful skill and avoiding contractor markups; cons involve potential mistakes, warranty gaps, and rework.
Pros and cons should be measured against your space, climate, and moisture risk.
Break-even points hinge on material costs, tool investments, and labor savings you’d gain from doing it yourself versus professional guarantees and faster, professional-grade results.
If you value speed and reliability, pros often win; if you value control and savings, DIY may be worthwhile.
How to Get an Accurate Quote: Measure, Assess, and Compare
To get an accurate quote, start by measuring your garage space precisely and note edge conditions that affect coverage.
Then compare multiple bids side by side, focusing on cost per square foot, materials, and any prep or labor fees.
This helps you spot true price differences and choose a coating that fits your budget and needs.
Measure Your Space Accurately
Accurately measuring your space is the foundation of a truthful quote. To begin, walk the entire garage and note usable area, including corners, alcoves, and any protrusions. Measure length and width in feet, recording multiple readings at different points to catch irregular walls.
Don’t forget slope, drains, and vertical features that affect coating coverage. Translate measurements into square footage, then add a small waste factor to cover seams and cutoffs. Use a calculator or a simple worksheet to keep results organized.
When you compare quotes, reference exact area and note any included prep, coatings, and labor. For garage aesthetics, specify color and finish expectations upfront.
As you plan, consider maintenance tips that impact longevity, like proper curing and interior ventilation.
Compare Multiple Quotes Efficiently
After you’ve pinned down exact square footage, the next step is comparing quotes efficiently. To save time and spot real value, gather at least three detailed estimates from reputable installers. Request itemized breakdowns for labor, materials, coatings, prep, and any required repairs. Use a consistent scope across bids so you’re comparing like for like, not apples to oranges.
Run a quick price analysis by calculating cost per square foot and total project cost, then flag large discrepancies and ask for clarifications. Look beyond the bottom line: check warranties, durability, epoxy vs. polyaspartic options, and lead times. Document each quote, note assumptions, and compare delivery timelines.
A thorough cost comparison guarantees you avoid overpaying and find the best fit for your Shark coating project.
Hidden Costs and Budget Buffers to Plan For
Hidden costs can derail your budget before you know it, so you’ll want to plan for them upfront. When budgeting for Shark coating, expect extras like surface preparation, moisture testing, and potential concrete repairs, which can add to material and labor.
Build a contingency of 10–15% to cover surprises without derailing the project timeline. Consider Garage lighting needs—timing for install and wiring may affect overall costs if you’re upgrading electrical work.
Flooring durability matters too; tougher substrates or irregular surfaces can require additional prep or coatings, increasing both price and curing time. Get a detailed, written scope from installers to prevent scope creep, and reserve funds for permits or inspections, if required.
Track expenses monthly to stay aligned with your target budget.
Quick Budget Scenarios: Small, Medium, and Large Garages
Small, medium, and large garages each demand a distinct budget path, so you can quick‑check your expected costs and avoid surprises.
For a small garage, expect lower material quantities and simpler prep, with budget targets centered on epoxy durability and essential Garage lighting upgrades.
A medium space adds additional coats and longer curing windows, boosting cost slightly but delivering durable protection and improved illumination.
For large garages, plan for premium coatings, extra surface prep, and enhanced lighting layouts; this is where epoxy durability pays off long term, reducing maintenance.
Use a straightforward cost per square foot as your guide, then pad for equipment, permits, and future lighting upgrades.
Track lighting scenarios and coating thickness to stay on target without overspending.
Frequently Asked Questions
How Long Does Shark Coating Last in Garages With Heavy Use?
Shark coating lasts about 5–7 years in heavily used garages, you’ll notice improved durability and easier maintenance. For best Garage durability and coating longevity, follow proper preparation, sealing, and routine inspections to extend performance.
Can Shark Garage Coating Resist Chemical Spills and Stains?
Scratch the surface of doubt: yes, Shark garage coating resists chemical spills and stains. You’ll gain chemical resistance and stain prevention, improving longevity; apply properly, and you’ll stay proactive, protecting floors with confident, actionable results.
Is There a Warranty on Shark Garage Coating Applications?
Yes, there is a warranty on Shark garage coating applications. Warranty details depend on project scope, and application coverage varies by product line. You’ll want to review terms, then confirm warranty details and application coverage before signing.
How Does Climate Affect the Curing Time of Shark Coating?
Climate impact slows or speeds curing duration depending on humidity and temperature; you’ll see longer times in cold, damp conditions and quicker results in warm, dry climates. Plan accordingly and monitor humidity for ideal Shark coating performance.
Can Custom Color Options Affect Overall Pricing?
Yes, custom color options can affect pricing, so expect a pricing impact if you choose unique hues. You’ll want to compare color choices, ask for quotes, and factor in your preferred shade to optimize value and results.
Conclusion
You can budget confidently by understanding that Shark garage coating typically falls between $3 and $12 per square foot, depending on base coat, color, texture, and protection options. An interesting stat: epoxy floors can boost home resale value by up to 2–5% when properly installed. To land an accurate quote, measure precisely, compare pros and ingredients, and don’t overlook hidden costs like ventilation and curing time. Plan a buffer for delays and upgrades to avoid sticker shock later.