Shark coating a garage floor typically runs in the low-to-mid four figures per job, driven by prep work, coating type, area, and finish. Expect higher costs if you need moisture tests, grinding, patching, or extra coats. A larger garage lowers some fixed setup costs but increases materials and labor. DIY saves about 25–40%, yet risks durability and timing. For the best value, plan for contingency and proper prep; more details ahead will help you optimize.
What Is Shark Coating for a Garage Floor?
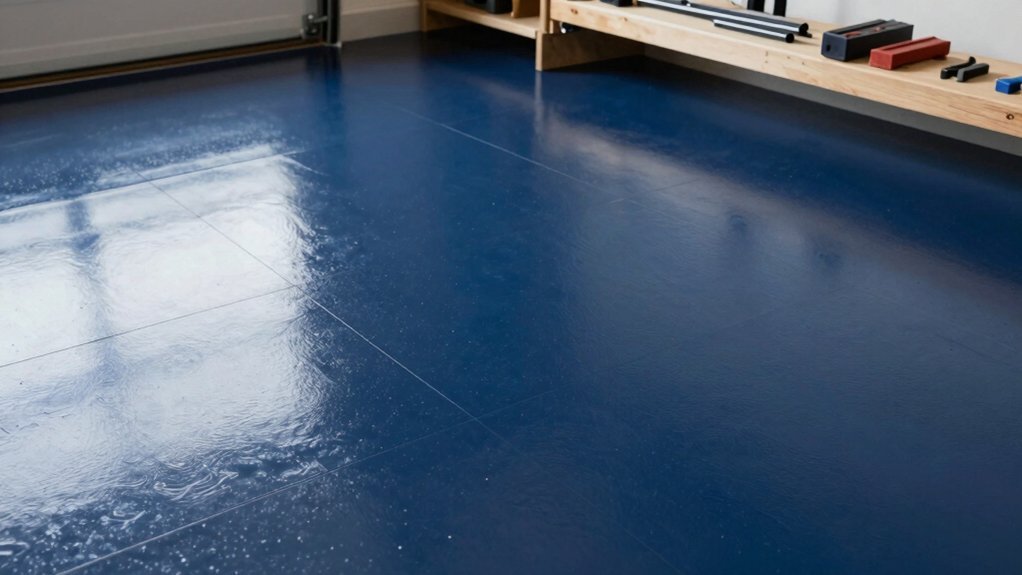
Shark Coating is a specialized epoxy system designed to protect and beautify garage floors. You’ll assess its purpose by examining substrate prep, epoxy chemistry, and finish options.
You apply a multi-step process: surface cleaning, etching or grinding, patching defects, then priming before the final coat. Epoxy durability hinges on adhesion, film thickness, and curing conditions, so you’ll quantify each variable: concrete porosity, ambient temperature, humidity, and mix ratios.
You’ll select a system with solid cure time and a proven binder formulation to minimize micro-delamination and wear. Coating aesthetics depend on color, gloss, and aggregate texture; you’ll specify UV resistance and slip resistance ratings.
Finally, you’ll document expected service life, maintenance intervals, and inspection checkpoints to ensure predictable performance and long-term value.
How Much Will a Shark Coating Cost?
You’ll see costs pull from three main areas: cost factors overview, material and labor, and the long-term value of Shark coating.
We’ll quantify each factor, compare upfront and ongoing expenses, and estimate a per-square-foot range based on typical garage sizes.
This frame sets the stage for precise budgeting and smarter decisions about durability and maintenance over time.
Cost Factors Overview
Cost Factors Overview: How much will a Shark coating cost? You’ll focus on concrete condition, prep scope, and coating grade. Surface roughness, existing coatings, and moisture tests set baseline prep hours and material use.
Calculate per-square-foot pricing by multiplying your garage area by targeted coverage rate, then add contingency for patch work or repairs. Primer, degreaser, and etchant choices influence chemical costs and labor time.
Sealer or top-coat options affect durability and price variance; higher solids content means fewer coats but higher material cost. Overhead includes equipment rental and disposal, plus site protection.
Factor lighting quality and storage solutions, since illumination needs and cabinet placement can alter prepping and masking tasks. Precision planning minimizes overages and aligns budget with performance expectations.
Material and Labor
Material and labor costs for a Shark coating hinge on the scope of prep, coating grade, and site conditions. You’ll quantify prep steps, including concrete grinding, moisture checks, and patching, to determine labor hours.
Expect epoxy adhesion to drive surface prep time if the substrate shows defects or porosity. Labor rates vary by crew size and regional wages, but you can model with fixed-hour estimates per square foot and add contingency.
Coating grade affects material spend; higher solids, quicker cure resists, and thinner films change coverage calculations. Don’t overlook tooling, masking, and protection, which add to labor minutes per zone.
Epoxy adhesion quality correlates with proper priming and substrate profiling, while coating durability hinges on uniform film thickness and cure consistency.
Total cost equals combined material and labor, plus incidental charges.
Long-Term Value
Long-Term Value hinges on durable performance and lifecycle costs beyond initial outlays. You’ll measure value by throughput, maintenance frequency, and replacement intervals, not just upfront price.
Start with expected coating durability: if a Shark coating lasts 10–15 years under typical garage use, annualized cost drops dramatically versus short-lived options. Assess surface prep quality, cure time, and any added protective topcoats, since failures here spike rework costs.
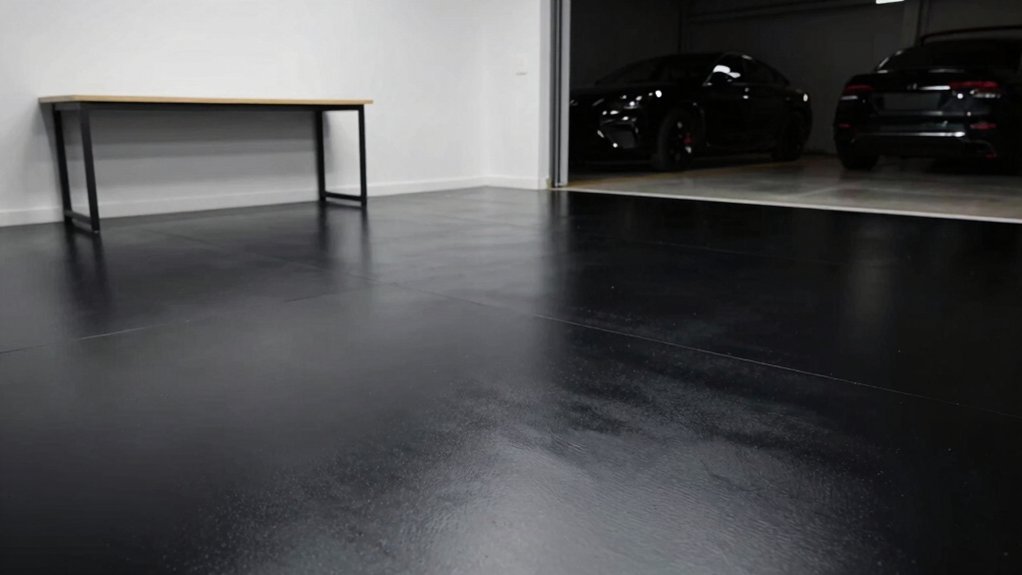
Factor in garage aesthetics—color, gloss retention, and resistance to chemicals—because sustained appearance reduces recalcitrant cleaning and repaints. Include anticipated maintenance, such as re-coats or minor repairs, in a predictable schedule.
Finally, compare residual value: a durable finish can boost resale appeal and minimize downtime, delivering lower long-term ownership costs per square foot.
What Are the Price Drivers for Shark Coatings?

Shark coatings price drivers hinge on several concrete factors: surface preparation, coating type and thickness, square footage, and labor rates. You’ll see pricing reflect these elements in a predictable pattern, with material costs and labor efforts driving most variance.
- Surface prep quality: roughness, cleaning, and masking determine adhesion and prep time.
- Coating type and thickness: higher solids, multiple coats, and specialty finishes raise unit costs.
- Square footage: larger areas dilute fixed setup fees but amplify material and labor hours.
- Labor rates: skilled applicators command premium, especially for curing and inspection phases.
Pricing factors and Material costs shape the bottom line, while overhead and warranty terms subtly tilt final quotes. Expect incremental changes as you adjust finish options or project scope.
DIY vs Professional Shark Coating: Should You Do It Yourself?
If you’re weighing DIY versus professional Shark coating, start by validating what you’ll save on labor and what you’ll risk on curing windows and surface prep accuracy. You’ll compare cost tradeoffs using concrete numbers: labor time, tool rentals, and material waste for DIY, versus a pro’s fixed quote and warranty.
Expect DIY to save 25–40% on upfront costs, but potential delays from weather and longer cure windows. A professional offers consistent surface prep, finish uniformity, and faster turnaround, often with a 2–5 year paint durability warranty.
Factor in garage insulation quality, which can influence curing performance and film thickness. If precision matters, especially on edge work and slopes, a pro usually delivers tighter tolerances and fewer recoat needs.
Decide based on risk tolerance and durability goals.
Prep Work That Affects Cost and Longevity
Prep work drives both cost and longevity, so start with a precise plan for surface prep, moisture control, and product selection. You’ll baseline prep by testing moisture, correcting concrete, and choosing an epoxy system with appropriate cure times. Your plan should include ventilation steps, prime coat decisions, and environmental controls to optimize epoxy curing and adhesion. The result is a durable, even finish with fewer repairs later.
- Assess moisture and slab flatness to determine grinding or patching needs.
- Choose a ventilation strategy to maintain safe epoxy curing temperatures and off-gassing.
- Schedule temperature and humidity windows aligned with epoxy curing requirements.
- Select primers, coats, and additives that match substrate conditions and anticipated traffic.
Shark Coating Types and Finishes: What They Cost
When selecting Shark coating types and finishes, you’ll compare epoxy formulas by resin system, solids content, and cure profiles to meet your garage’s use and climate.
You’ll quantify cost-per-coat options, noting how resin chemistry shifts price, durability, and cure time. Epoxy alternatives exist; evaluate urethane, hybrid epoxy, and polyaspartic choices for impact resistance and UV stability, then convert performance metrics into dollars per square foot.
Document coating durability projections under load, chemical exposure, and temperature swings, translating data into a 5- to 10-year maintenance forecast.
Calculate expected downtime, substrate prep compatibility, and required number of coats for each finish. Favor finishes with consistent gloss retention, micro-scratch resistance, and easy cleaning.
Prioritize transparent rating scales, so you can compare long-term value beyond initial application costs.
Hidden Costs and Surprises When Coating a Garage Floor
Hidden preparation costs can creep in when you least expect it, so expect to budget for extra grinding, patching, or moisture testing beyond the base quote.
Material shortages can cause delays or price spikes, so have a 5–10% contingency and confirm current stock before ordering.
Ongoing maintenance fees show up over time with sealant refreshes and UV protection, so map a 3–5 year plan to keep the coating performing.
Hidden Preparation Costs
Even after you’ve chosen a coating, hidden preparation costs can catch you off guard if you don’t plan for them. You’ll want to quantify prep steps before you commit to a budget, because unexpected work adds up fast.
Surface durability and environmental impact hinge on thorough prep, not just the coating itself. Here are the key costs you should anticipate:
1) Subfloor moisture testing and potential mitigation
2) Concrete repair and patching, including crack filler and leveling
3) Contaminant remediation, such as oil stain sealer or degreaser treatment
4) Time-for-money tradeoffs, including extra curing windows and ventilation
Track these line items to avoid overshoot.
With precise prep, you’ll protect surface durability and minimize environmental impact while staying on target financially.
Unexpected Material Shortages
Unexpected material shortages can quietly derail a garage-floor coating project, especially after you’ve accounted for prep costs. You’ll encounter material scarcity and supply delays that ripple through timelines and budgets.
Begin by auditing your supplier list and confirming current stock, lead times, and minimum order quantities for epoxy, hardener, and aggregate additives. If a batch is delayed, compute the cost of expedited shipping or alternative formulations versus postponing the job.
Track purchase orders with precise ETA updates and flag any SKU substitutions that could alter cure times or adhesion. Maintain a contingency fund—roughly 5–10% of material costs—specifically for shortages.
Document every deviation, from backorder notices to price surges, so you can justify timeline shifts and preserve your coating’s performance benchmarks.
Long-Term Maintenance Fees
Long-Term Maintenance Fees often show up as the quiet cost drivers after the job’s done, so you’ll want a clear plan to account for them.
You’ll notice costs emerge from touch-ups, sealant reapplications, and occasional resurfacing, all affecting garage durability and coating aesthetics over time. Track these predictable needs to avoid surprise hikes.
- Scheduled reseals or topcoats every 3–5 years
- Minor repairs for chips or staining, itemized by area
- Surface cleaning and maintenance supplies, yearly budgeting
- Surface longevity audits to confirm coating integrity and protection
Budgeting by Garage Size and Condition
Budgeting a garage coating project starts with sizing and condition checks: measure the floor, note existing cracks or moisture, and set a target lifespan.
You’ll then map area and preparation needs by garage size, distinguishing single- and multi-car zones.
Calculate coating quantity from square footage, minus steps or trenches, and factor edge treatments.
Assess substrate condition: concrete porosity, grinding needs, and moisture mitigation, forecasting cure times and labor windows.
Translate size and condition data into a structured budget: material costs, prep, coating, and labor, plus contingencies for epoxy alternatives or gaps.
Include maintenance intervals post-application to extend life.
Plan for garage organization during work to minimize rework, storing tools neatly.
Keep total cost per square foot explicit, and reserve funds for unexpected repairs.
How to Get the Best Value: Practical Tips and Pitfalls
To get the best value on a garage floor coating, start with a precise, numbers-driven plan that builds from your sizing and condition checks. You’ll quantify area, substrate, and desired durability to compare options efficiently.
Pitfalls include overestimating coverage, choosing flashy colors without durability tests, ignoring cure times, and skimping on surface prep.
Follow these steps:
- Measure surface area accurately and add 5% for waste.
- Compare coatings by 10-year durability and maintenance needs.
- Prioritize Eco friendly options without sacrificing performance.
- Plan color customization that resists wear and fading, with documented warranty.
Frequently Asked Questions
How Long Does Shark Coating Last on a Garage Floor?
Shark coating lasts about 5 to 15 years, depending on use and prep. You’ll optimize Garage durability by sealing joints and applying with a precise, methodical process; coating longevity improves with proper cleaning, moisture control, and regular maintenance.
Can I Apply Shark Coating Over Existing Epoxy?
Instantly: yes, you can apply Shark Coat over existing epoxy if you guarantee chemical compatibility and proper surface prep. You’ll prioritize Garage ventilation, test adhesion, and follow manufacturer steps precisely for long-lasting results.
Is a Moisture Barrier Required Before Shark Coating?
You should moisture test first to determine barrier necessity, because a moisture barrier may be required. If readings exceed limits, prep and seal accordingly; otherwise proceed. Follow meticulous steps, document results, and verify with repeat testing.
What Maintenance Stops Coating From Peeling Fast?
Like a clockwork hinge, your coating won’t peel if you protect the surface with proper prep. You’ll optimize paint durability by meticulous surface preparation, cleaning, and patching; maintain it by regular inspection and re-coating when necessary.
Do HOA Rules Affect Garage Floor Coatings?
HOA regulations can restrict garage aesthetics, so you’ll check rules before coating. You’ll document applicable guidelines, verify approvals, and plan color and finish specs to stay compliant while maintaining a durable, visually cohesive garage floor.
Conclusion
Conclusion:
You’ll want a clear cost picture before you start, and you’ll get it by dialing in the variables: garage size, condition, finish, and labor. Expect the total to run from a few hundred dollars for small, DIY jobs to several thousand for pro installations with premium finishes. Think of it as building a staircase: each rung (prep, coating, cure) adds height and value. Plan 2–3 quotes, track hourly rates, and you’ll avoid costly missteps.