You can expect to spend a few hundred to several thousand dollars to paint a two-car garage floor, depending on coating choice, prep needs, and whether you DIY or hire a pro. Key cost drivers are surface condition, square footage, and coating type—epoxy lasts longer but costs more than latex. DIY saves money but takes time and effort; pros deliver fast, polished results and warranties. Plan for prep, primer, coatings, and contingencies—and if you keep reading, you’ll learn more about budgeting and options.
Estimate Your Garage Floor Cost Up Front
Estimating your garage floor cost up front helps you plan and avoid sticker shock. You’ll start by listing essentials: surface condition, square footage, and desired coating type. Measure accurately, then multiply by per-square-foot pricing for materials and labor.
Budget for surface prep—etching, grinding, or patching—as these can swing costs more than you expect. Consider coatings with anti-slip benefits and easy cleanup to save future maintenance.
Factor in temporary disruptions, like garage storage needs and relocation of items, which affect timelines and costs. Plan for lighting upgrades because garage lighting influences the perceived finish and safety during application.
Think about storage solutions you’ll install after the project to maximize space without rework. A clear budget helps you choose practical, durable options.
The Biggest Cost Drivers for Garage Floor Projects
Material costs can swing based on product choices, from basic sealers to top-tier coatings.
Surface prep demands drive both time and mess, especially if the slab has cracks or moisture concerns.
Labor time factors matter, since crews bill by the hour and longer jobs eat into your budget.
Material Costs Variations
Garage floor project costs hinge mostly on materials, and the price swings come from choice, quality, and where you buy. You’ll see big gaps between DIY kits and contractor-grade products, plus regional price differences for coatings, sealers, and pigments.
Budget-conscious buyers focus on per-square-foot costs, durability, and maintenance needs, not just upfront expense.
Color options vary widely, and some colors require extra coats or tinted primers, raising both material and labor time.
Application techniques matter too: rollers, brushes, or sprayers affect coverage efficiency and finish quality. Choose a system you can apply correctly in a single pass to minimize waste.
Look for kit bundles that include primer, sealer, and topcoat, and compare long-term costs like recoat intervals and UV resistance to protect your investment.
Surface Preparation Demands
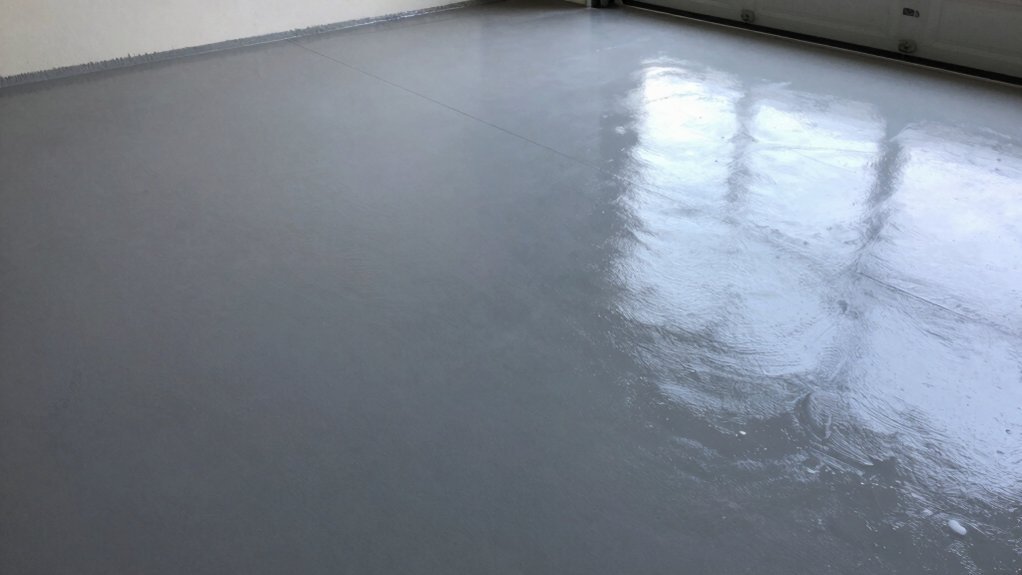
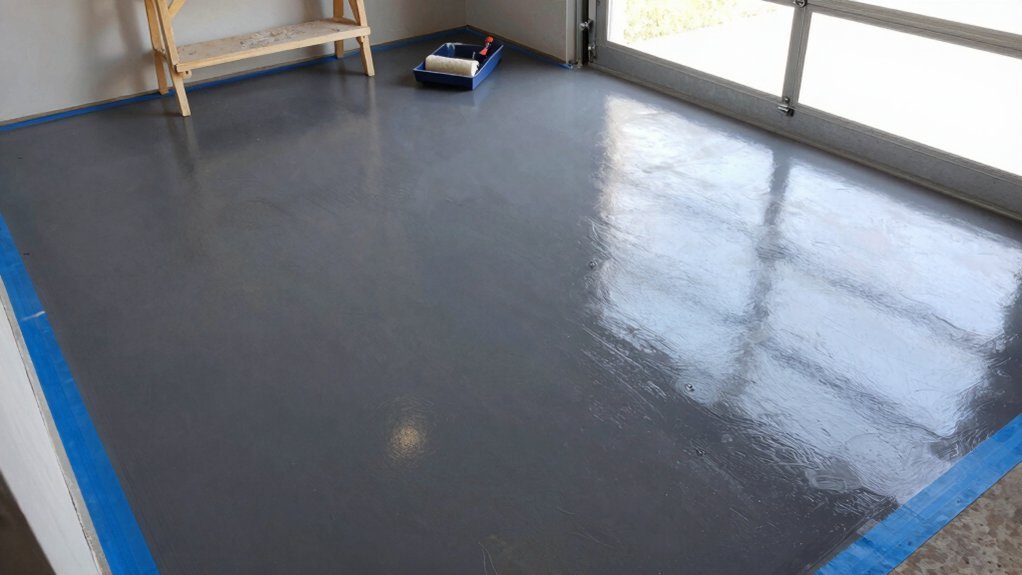
Surface prep drives costs more than any single material choice. You’ll pay for prep time, cleaning, and fixes before any coating goes down.
Start by evaluating the slab’s condition: small pitting or smooth, sealed concrete reduces prep needs; major cracks or flaking raise costs quickly.
Surface cleaning is essential to ensure adhesion, so don’t skip it—dust, oil, and solvent residues sabotage finishes. Use a degreaser on greasy spots, sweep, and rinse; let it dry completely.
Crack filling is often cheaper than full repairs later, so address visible cracks now with a compatible filler before coating.
Edges and corners get extra attention to avoid fish-eyes or peeling.
Don’t underestimate moisture checks; trapped moisture can derail the project and cost you more later.
Plan a realistic window for curing before painting.
Labor Time Factors
Labor time is the biggest cost driver on a garage floor project, often eclipsing material prices. You’ll save if you plan efficiently, work steadily, and minimize downtime. Start with a realistic schedule that accounts for drying times, weather, and access to power.
Track labor by task: surface prep, priming, coating, and curing. Assign skilled tasks to the right helper to avoid bottlenecks and keep momentum. Expect time sinks from equipment setup, cleanup, and rework, and build in buffers.
Use efficient methods—right-sized equipment, batch coatings, and clean-as-you-go routines—to cut total hours. Don’t neglect safety precautions: proper ventilation, PPE, and spill containment reduce incidents that stall progress.
Schedule maintenance for machines to prevent failures mid-project and preserve consistent results.
Epoxy or Latex: Choose the Right Garage Floor Coating
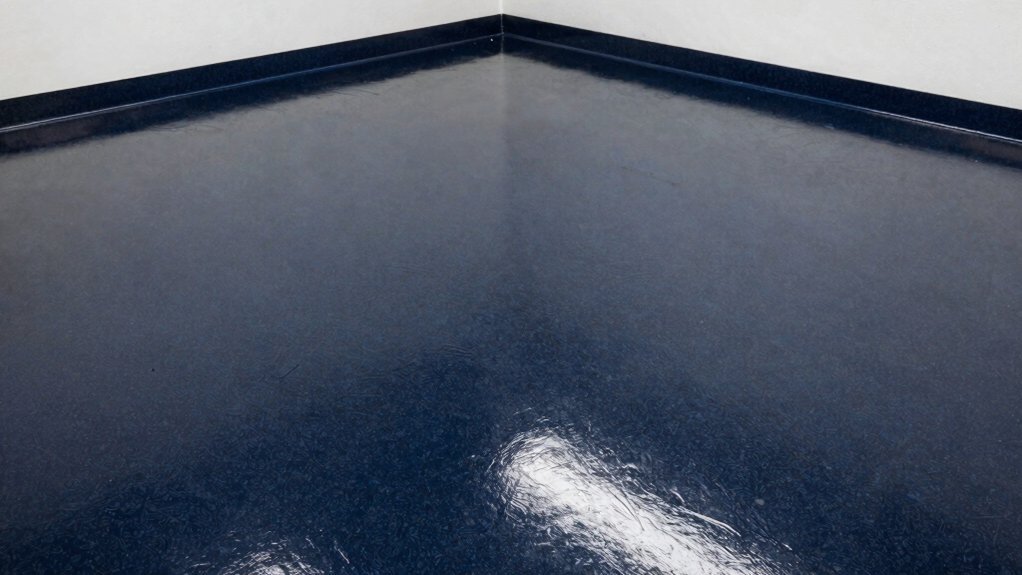
Choosing between epoxy and latex (polyurethane or acrylic) garage floor coatings comes down to durability, maintenance, and budget. You’ll weigh long-term toughness against ease of upkeep and upfront cost.
Epoxy surfaces resist chemicals, impact, and staining, making them ideal for busy spaces or heavier use. Latex coatings dry faster, cure easier, and embrace simpler repairs, with lower initial expense.
Consider ventilation and curing time when planning your project. If you want a glossy, robust finish, epoxy wins; for quick-turnaround projects or frequent re-coats, latex is practical.
Budget-conscious shoppers should compare whole-project costs, including prep and topcoats. Think about Garage color options to match your space and Garage safety features like slip resistance during wet conditions.
Pick the coating that fits your routine, not just the price.
DIY vs. Hiring a Pro: Pros, Cons, and a Quick Decision Guide
DIY projects save money, but not every garage floor is worth a DIY attempt. You’ll weigh time, skills, and risk against hiring a pro for a durable finish and faster results.
1) Pros of DIY: lower upfront cost, learnable skills, flexibility with schedule.
2) Pros of hiring: professional prep, flawless coating, warranty, faster completion.
3) Cons to contemplate: DIY mistakes can cost more to fix; pros have better safety precautions and equipment.
4) Quick decision guide: assess your clock, budget, patience, and tolerance for DIY trial-and-error.
Keep in mind safety precautions and environmental impact. If you’re budget-conscious but uncertain about surface prep, chemicals, or cure times, a pro may save you money long term by avoiding costly rework.
If you DIY, plan a clean, ventilated space and proper disposal.
Budget the Prep, Primer, and Coatings for Durability
To keep your garage durable without blowing budget, start by mapping the needed prep, primer, and coating and price each step realistically.
Begin with surface sealing to protect concrete and create a solid base; estimate material and time, then add a contingency.
For etching, cleaning, and crack repair, keep costs tight by batching tasks to minimize trips and waste.
Choose a primer rated for garage floors; compare epoxy, polyaspartic, and polyurethane options for durability versus cost, and count the price per gallon plus coverage.
Coatings should balance longevity and value; consider decorative finishes only if they fit your budget and the garage’s use.
Track total, then adjust choices to avoid overspending while ensuring durability.
Build Your Simple Garage Floor Budget in 5 Steps
A simple five-step budget keeps your garage floor project on track without surprises. You’ll map costs, prioritize must-haves, and leave wiggle room for hidden tweaks. Start with a clear scope and realistic timelines to avoid scope creep.
Now, build your plan around four core areas: materials, labor, contingencies, and accessories like lighting and ventilation.
- List materials and finish options with price ranges.
- Estimate labor time and hourly rates; add a small safety buffer.
- Define a contingency (5–15%) for unexpected needs.
- Include garage lighting and ventilation options that affect installation and durability.
Tip: compare options for lighting efficiency and airflow; good ventilation reduces fumes, odors, and moisture, protecting your budget and floor lifespan.
Frequently Asked Questions
How Long Does a Garage Floor Coating Typically Last?
A garage floor coating typically lasts 5 to 15 years, depending on prep and traffic. You’ll improve garage maintenance with proper surface preparation, and choose durable flooring for long-lasting results, prioritizing durability and budget-friendly installation.
Can Coatings Withstand Hot Tire Temperatures Without Peeling?
Yes, tire heat can affect coating durability; choose high-temperature resistant epoxy or polyurea, and apply proper curing. You’ll improve longevity by prep, sealing joints, and avoiding cheap kits, consequently protecting floors under hot tires without peeling.
Do Homeowners Need a Permit for Garage Floor Coatings?
You’ll likely need a permit if your project triggers structural or environmental rules, so check local codes first. Imagine clear garage safety as you plan, and budget for inspections, paint, and waste disposal under Environmental regulations.
Is Top-Coat Traction Essential in a Two-Car Garage?
Top-coat traction isn’t strictly essential, but it boosts safety. You should weigh safety considerations and aesthetic options; go with a textured finish if you want grip, or a smoother coat for a cleaner look while staying budget-conscious.
How Often Should Epoxy Floors Be Resurfaced or Recoated?
Recoating roughly every 2–3 years keeps epoxy strong. You’ll save by scheduling ahead, doing garage cleaning first. Consider affordable epoxy color options and maintain with light mats; this keeps sheen, slip-resistance, and budget in check.
Conclusion
You’ve got a clear path to a durable garage floor without blowing your budget. Start with prep, pick a coating you’ll actually use, and weigh DIY vs. pro help before you commit. Keep costs tight by estimating materials first, choosing the right epoxy or latex, and budgeting for contingencies. Think of your budget as a toolbox—each item adds value when you use it, not just when you buy it. It’s the same drill, just smarter planning.